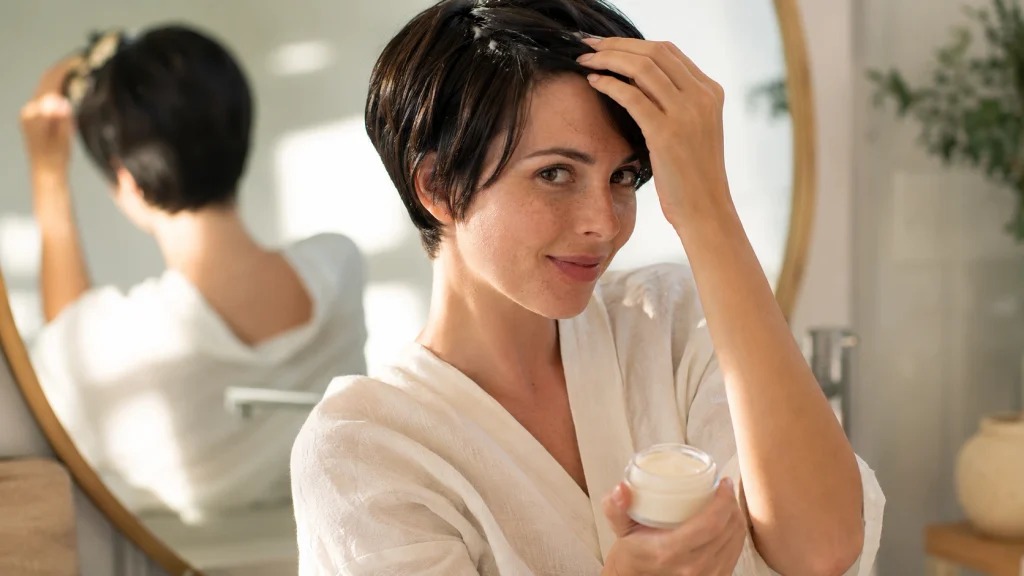
How to style a pixie cut is something most people start wondering about around day three—when that salon-perfect finish suddenly resembles a confused little bird’s nest. I’ve received some version of that panicked “What happened overnight?” text from more clients than I can count. Here’s the truth nobody tells you at checkout: a great pixie isn’t only about the cut. It’s about knowing a handful of fast moves that work with your actual hair, your actual mornings, and your actual weather. That’s exactly what I’m handing you today.
My Styling Notes
I’ll never forget the client I styled two summers ago in Nashville, right before her daughter’s outdoor wedding. We spent almost twenty minutes getting her pixie perfectly sleek in my chair, the kind of sharp, glassy finish that photographs like a dream. She walked out glowing.
By the time the ceremony started at 4pm in that thick Southern humidity, her sleek little style had puffed up into something completely different. I got a text mid reception that just said “help, my hair has a mind of its own right now.
That day taught me something I now tell every single client with a pixie. Gel and humidity are not friends. If I’d sent her home with a lightweight anti humidity spray instead, her photos would have looked exactly like they did when she left my chair. Lesson learned, and now I never skip that step for anyone heading into a humid day.
7 Effortless Everyday Tricks for a Snatched Pixie Cut
1. The Two Minute Sleek Look for Busy Mornings
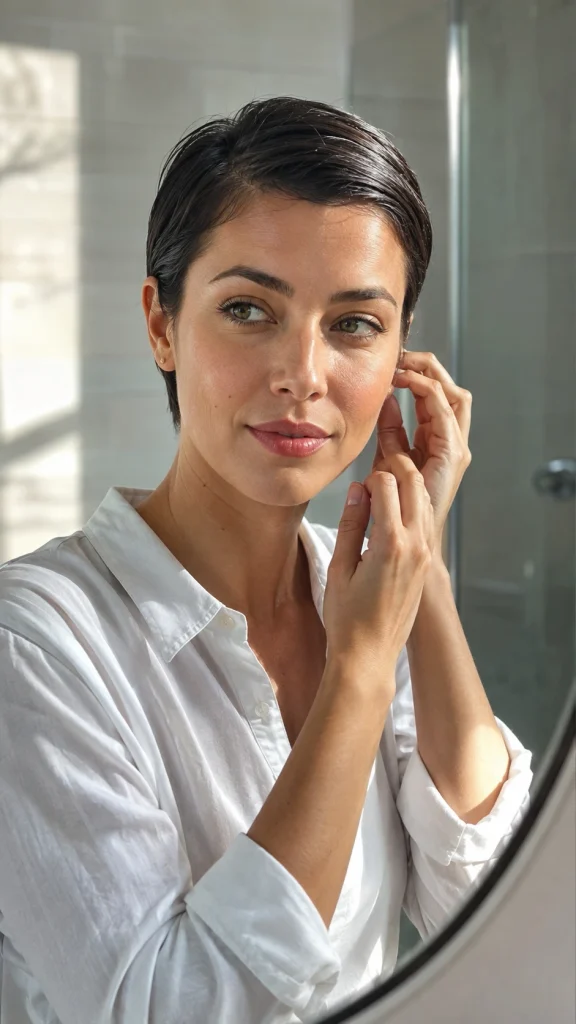
Some mornings you just need your hair to look intentional, not miracle worked. For this one, damp hair is your best friend, so if you’re starting fresh out of the shower, don’t fully towel dry first. Run a smoothing cream through the roots and ends, then comb everything back or to the side using your fingers or a fine tooth comb. Tuck the sides behind your ears and you’re basically done.
A trick I always give clients who are rushing out the door for a 9am meeting is to keep a travel size smoothing serum in their bag. One tiny pump on dry hands, pressed gently over any flyaways right before you walk into the office, and suddenly you look like you had way more time than you actually did.
2. The Ninety Second Tousled Look for Errand Days

This is the one I use on myself most days, honestly. Grab a texturizing spray or a dab of pomade, rub it between your palms, and scrunch it through your hair starting at the roots. You’re not trying to be neat here, you’re trying to look effortlessly undone. If you’re currently sporting a messy pixie cut with bangs, this technique keeps the fringe piecey and light without flattening your forehead.
A few things that make this work every time:
- Use your fingers, never a brush, once product is in
- Focus texture at the crown first, that’s where volume reads the most
- Finish with a light hairspray from about ten inches away so it doesn’t get crunchy
I’ve had clients tell me this look makes them feel like they tried harder than they actually did, which honestly might be the whole point of a pixie cut in the first place.
What’s your pixie routine missing right now, more volume, less frizz, or just faster mornings?
3. Reviving Bedhead Without a Full Rewash
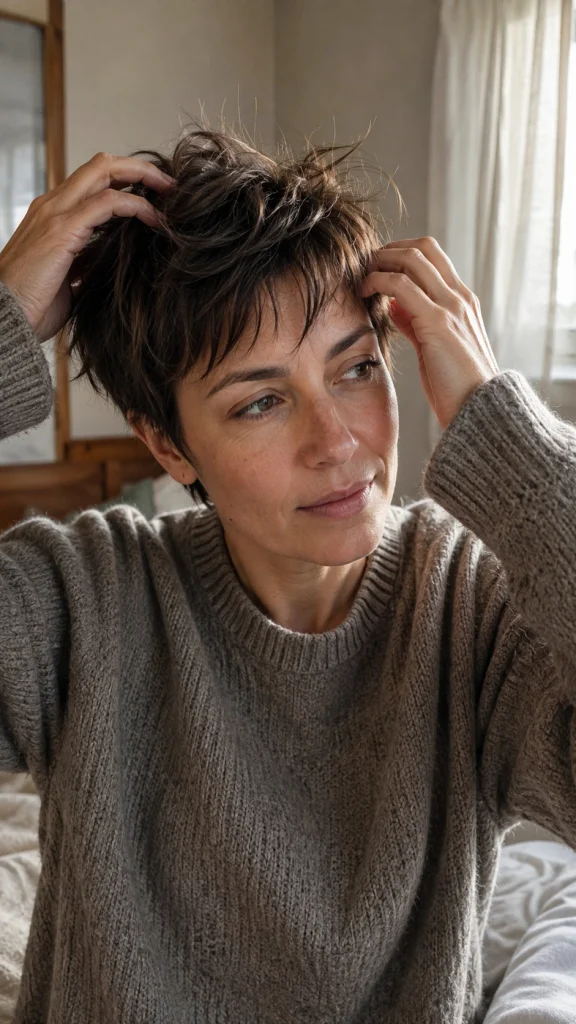
We’ve all woken up with pixie hair doing something it absolutely should not be doing. Before you reach for the shampoo, try this instead. Spritz a little water or a leave in conditioner spray onto just the sections that are misbehaving, work in a tiny bit of pomade with your fingertips, and reshape.
One thing I always tell clients who panic in the mornings is that a pixie doesn’t need a full reset most days, it just needs a nudge back into place. If you’re someone who tends to sleep on one side more than the other, that side is usually the culprit, so start there and work outward rather than attacking your whole head at once.
4. Heat Free Styling for Damage Prone or Lazy Mornings

Not every day needs a hot tool, and honestly your hair will thank you for the days it gets a break. Apply a lightweight mousse to damp hair right after your shower, then let it air dry naturally while you do your makeup or make coffee. Once it’s mostly dry, scrunch in a small amount of texturizing cream and shape with your fingers.
This method works especially well if you have naturally wavy or curly texture, since the hair does most of the work on its own. I’ve noticed clients with fine, straight hair sometimes feel like heat free days look a little flat, and if that’s you, a root lifting spray applied before the mousse solves that pretty quickly.
5. Blow Drying for Real Volume at the Root
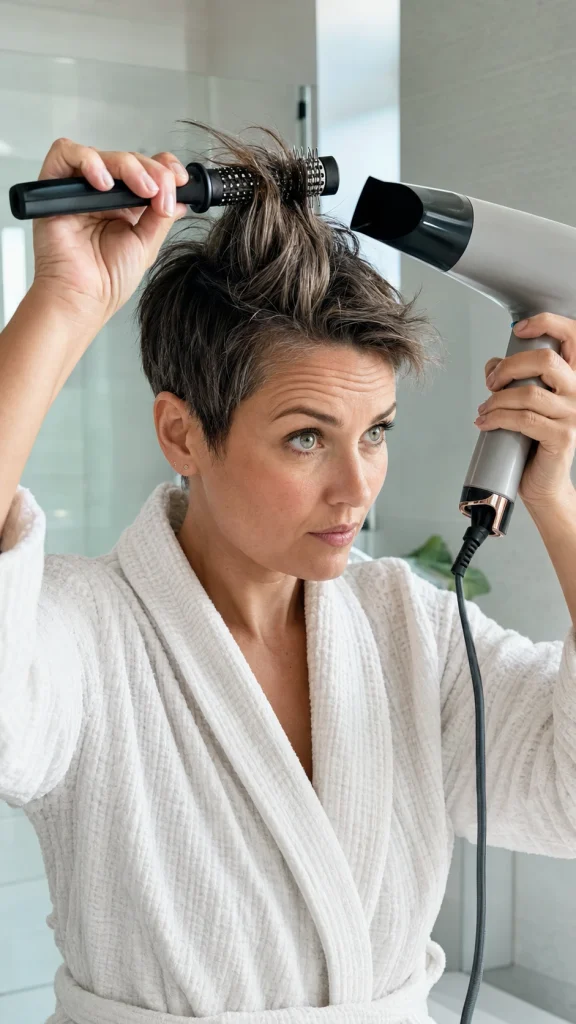
If you want that bouncy, just left the salon look, this is the move. Flip your head upside down and blow dry using a small round brush, lifting at the roots as you go. Work in sections, sweeping the top layer slightly to one side for extra lift and movement.
A trick I’ve picked up over the years is to point the dryer nozzle downward, not straight at your scalp, which keeps the cuticle smooth while still building height. Finish with a spritz of dry shampoo at the roots even if your hair is clean, it grips product beautifully and holds that volume through the whole day.
Between the budget picks and the splurge worthy tools, which one actually fits your daily routine best?
6. Using a Flat Iron Without Frying Two Inches of Hair
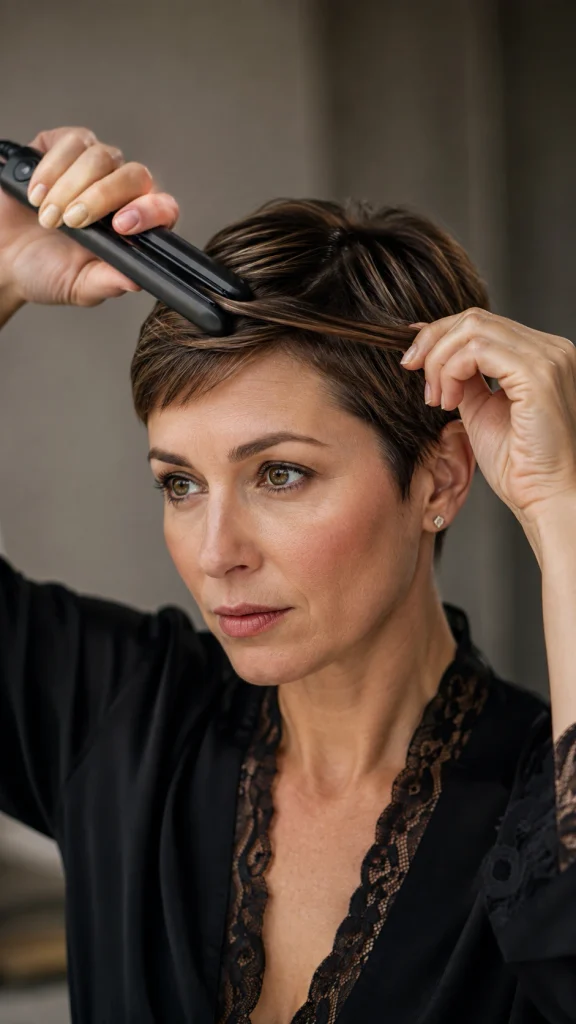
Pixies have so little hair that heat damage shows up fast, so this one calls for a light touch. Keep your iron on a lower setting than you’d use for longer hair, somewhere around three hundred degrees is usually plenty, and always use a heat protectant first even on short strands.
Here’s what actually matters with a flat iron on a pixie:
- Only run it through the top layers, the sides rarely need it
- Move quickly, one smooth pass is enough
- Flick the ends slightly outward or under for shape instead of pin straight flatness
I always tell clients that a flat iron on a pixie should take about ninety seconds total. If you’re standing there for five minutes, something’s off with your technique or your iron just isn’t hot enough to do the job efficiently.
7. Styling Bangs the Right Way, Wet First
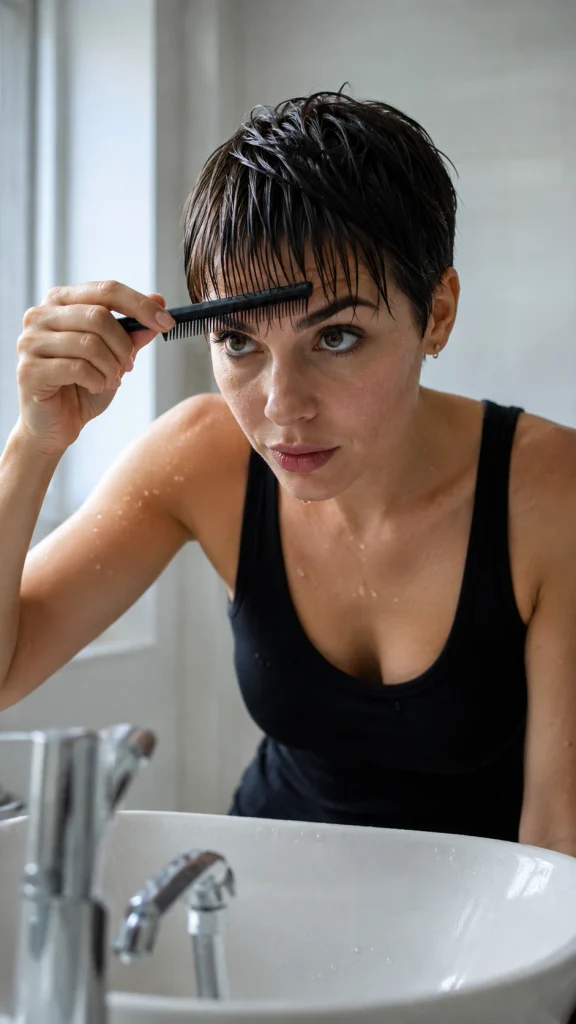
This is the one mistake I see more than almost anything else. People style their whole pixie, then try to fix the bangs last when they’re already dry and stubborn. Wrong order, every time.
Your bangs should always be your starting point, not your afterthought. Comb them straight down while they’re still damp, using a small amount of smoothing cream or light gel worked through with your fingers or a fine tooth comb. Direct them in the shape you want them to fall, whether that’s a deep side sweep or a soft fringe grazing your brows. For anyone exploring classic short pixie cut ideas for women over 50, mastering this damp-fringe technique is the secret to getting that face-framing softness every single morning.
A little habit that saves me every single time is using a soft bristle brush on damp bangs to break up any stubborn cowlicks before they dry into place. Once your bangs are shaped and mostly set, you can move on to the rest of your pixie knowing they won’t fight you later. Skip this order and you’ll spend twice as long trying to tame a section that had a mind of its own the whole time.
Alright, tell me, which styling trick are you most excited to try, and what’s your pixie cut struggle been until now?
Quick Pixie Styling Cheat Sheet
| Look / Item | Estimated Price | Care Level | Where to Buy |
|---|---|---|---|
| Smoothing Cream (Sleek Look) | Under 20 dollars | Low | Smoothing Cream on Amazon |
| Texturizing Spray (Tousled Look) | 12 to 25 dollars | Low | Texturizing Spray on Amazon |
| Leave In Conditioner Spray (Bedhead Fix) | 10 to 18 dollars | Low | Leave In Spray on Amazon |
| Lightweight Mousse (Heat Free Days) | 8 to 20 dollars | Medium | Volumizing Mousse on Amazon |
| Small Round Brush (Blow Dry Volume) | 10 to 30 dollars | Medium | Round Brush on Amazon |
| Mini Flat Iron (Bang and Top Layer Styling) | 25 to 60 dollars | Medium | Mini Flat Iron on Amazon |
Your 60 Second Pixie Decision Guide
By Budget
Budget Friendly Picks
- Texturizing spray under 25 dollars for daily tousled texture
- Basic smoothing cream under 20 dollars for sleek days
- Drugstore dry shampoo for instant root volume
Worth the Splurge
- A quality mini flat iron, cheap ones fry short hair fast
- A good round brush, it lasts years and actually builds volume
- Anti humidity spray if you live somewhere hot and sticky
By Lifestyle
Busy Professionals
- Two minute sleek look, smoothing cream and a comb
- Keep travel size serum in your bag for touch ups
Hot and Humid Climates
- Skip heavy gels, they turn to paste in humidity
- Anti humidity spray over anything with high shine oils
New Moms and No Time Mornings
- Heat free mousse method, air dry while you handle everything else
- Dry shampoo is your best friend, use it daily if needed
Weekend Casual
- Ninety second tousled look with texturizing spray or pomade
- Let cowlicks and flyaways be part of the look
Frequently Asked Questions
How do you style a pixie cut without heat every day?
Yes, it’s completely doable if you lean on the right products. Apply mousse to damp hair and let it air dry, then scrunch in a texturizing cream once it’s mostly dry. Your natural texture does most of the heavy lifting here.
What is the best product for styling a short pixie cut?
I usually recommend starting with a lightweight texturizing spray, it works for almost every style from sleek to tousled. If your hair is fine, add a root lifting spray before anything else so you’re not fighting flatness all day.
How often should you restyle a pixie cut throughout the day?
Most pixies need zero restyling if the morning routine is done right. A quick touch up with a little pomade or dry shampoo around midday is usually all you need, even on humid or windy days.
Can you style a pixie cut with curly or wavy hair?
Absolutely, curly pixies are some of the easiest to work with once you stop fighting the texture. Use a curl defining cream on damp hair and let it air dry or diffuse, and skip the brush completely once product is in.
How do you keep a pixie cut looking fresh in humid weather?
The best option is switching from gel to a lightweight anti humidity spray, gel tends to swell and puff in sticky weather. I learned this one the hard way with a client at an outdoor summer wedding, and it changed how I prep every client for hot climates now.
Conclusion
Here’s the thing about a pixie cut, it rewards you the moment you stop overthinking it. You don’t need thirty minutes or a salon appointment to look pulled together, you just need the right five minute move for your morning. Pick one technique from this list and actually try it tomorrow, that’s honestly the fastest way to fall in love with short hair all over again. Your confidence shouldn’t depend on how much time you had before coffee, and now it doesn’t have to.

2 thoughts on “How to Style a Pixie Cut at Home: 7 Quick Daily Techniques”