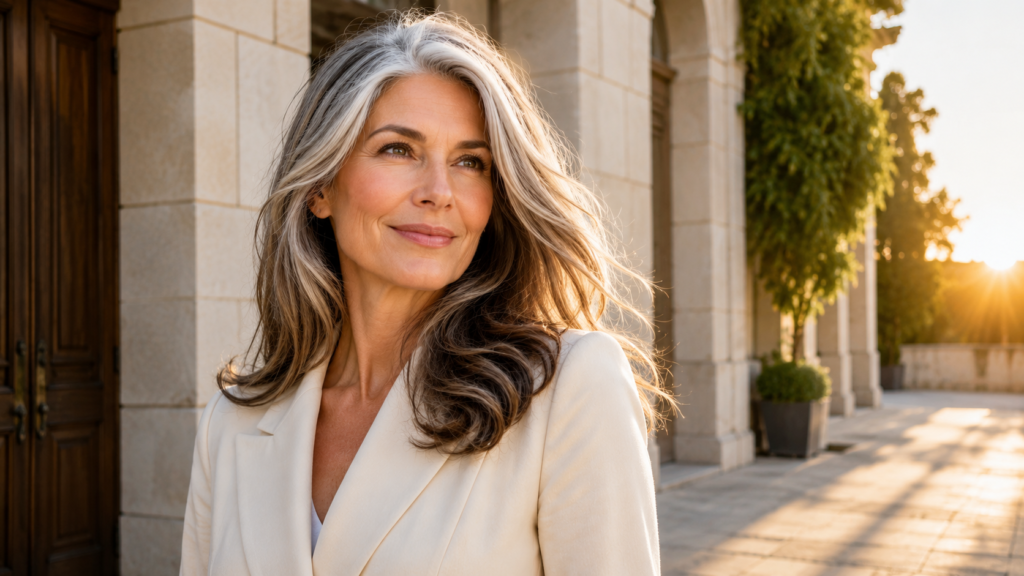
I have colored more heads of gray hair than I can count over the past twelve years, and I still remember the moment a client turned to me in the chair and said, “I don’t want to look like I gave up.” That single line changed how I approach gray hair with almost every client since. Women are rarely afraid of the gray itself. They are afraid it will read as surrender instead of style.
Gray blending fixes that completely. It is not about hiding your gray, and it is definitely not about a dramatic all over transformation either. It is a technique where your colorist works your natural silver in with soft, strategic pieces of dye so the two tones melt into each other instead of competing for attention. The result looks like hair that grew this way on purpose, because in a way, it did.
Below are nine gray blending styles I keep coming back to with clients, plus the real talk nobody tells you about cost, upkeep, and what your first few weeks with this color will actually feel like.
My Styling Notes
I had a client last year who came to me wanting to just cover her gray completely after a genuinely hard year. She sat in my chair and said the words I hear more than almost anything else, “I don’t want to look like I gave up.” I talked her into trying a soft blend first instead of full coverage, since her gray was coming in at the temples in a pattern I honestly thought would look beautiful once it was toned right. She was skeptical, and I understood why. We took it slow, did one appointment, then a gentle follow up six weeks later. When she came back she showed me a photo from a work event, glowing, telling me a coworker had asked who did her color. I still think about that appointment whenever a new client sits down looking unsure. It reminded me that gray blending is rarely about hiding anything. It is about giving your natural color room to actually shine.
9 Effortless Ways to Master Natural Gray Blending After 50
1. Soft Silver Balayage For Brunettes
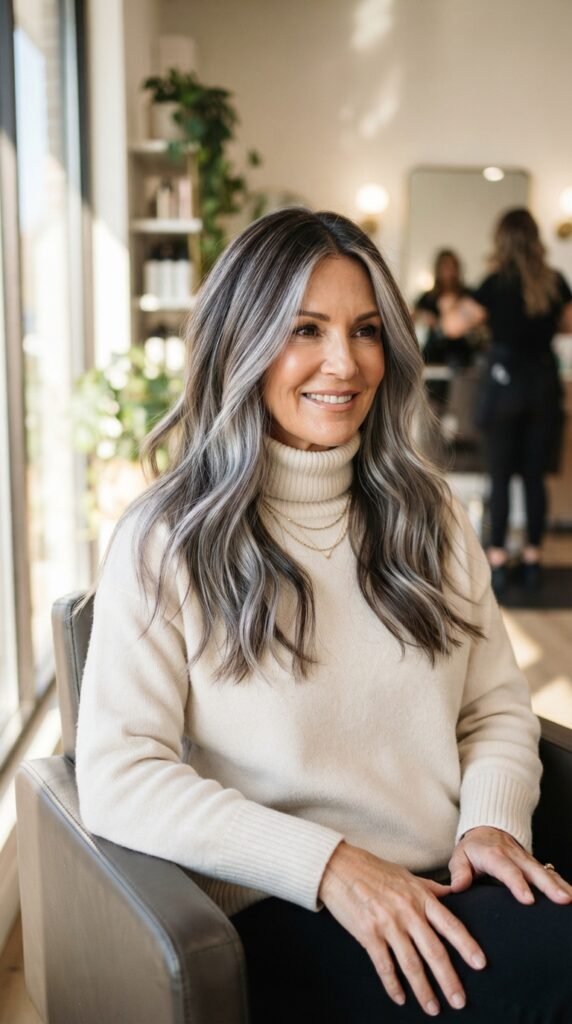
If you are starting from a deep brunette base, soft silver balayage is usually my first suggestion. Instead of painting colour in stripes, your colourist hand paints lighter silvery pieces throughout the mid lengths and ends, letting your natural Gray roots ease into the rest of the colour rather than standing apart from it. Dark hair tends to make Gray roots look more obvious sooner because the contrast is so sharp, and balayage softens that line dramatically. A quick trick I have learned over the years is asking for pieces that are slightly narrower near the crown, where regrowth shows fastest, and slightly wider toward the ends where you have more room to play. It also pairs beautifully with subtle highlights woven throughout, since the painted pieces essentially become a stand in for Gray you have not fully grown out yet.
This is not a one and done appointment, and I like being upfront about that. Most brunettes need a follow up visit around six to eight weeks in just to soften the regrowth line, especially if the natural gray is coming in unevenly.
2. Money Piece Gray Framing

The money piece is exactly what it sounds like. A few face framing pieces near your part and temples get lightened to blend with emerging gray, and it happens to be one of the most requested gray blending hairstyles I do all year.
- Works fastest on short hair and lobs, where the color sits close to your features
- Delivers a big visual change in a single appointment
- Costs less than a full head service in most salons
One thing I always tell my clients is that this technique will not disguise gray anywhere else on your head. If your gray is spread evenly instead of concentrated near the hairline, you will want to pair it with another method on this list.
Which Gray blending look on this list are you most excited to try first?
3. Salt And Pepper Root Blend
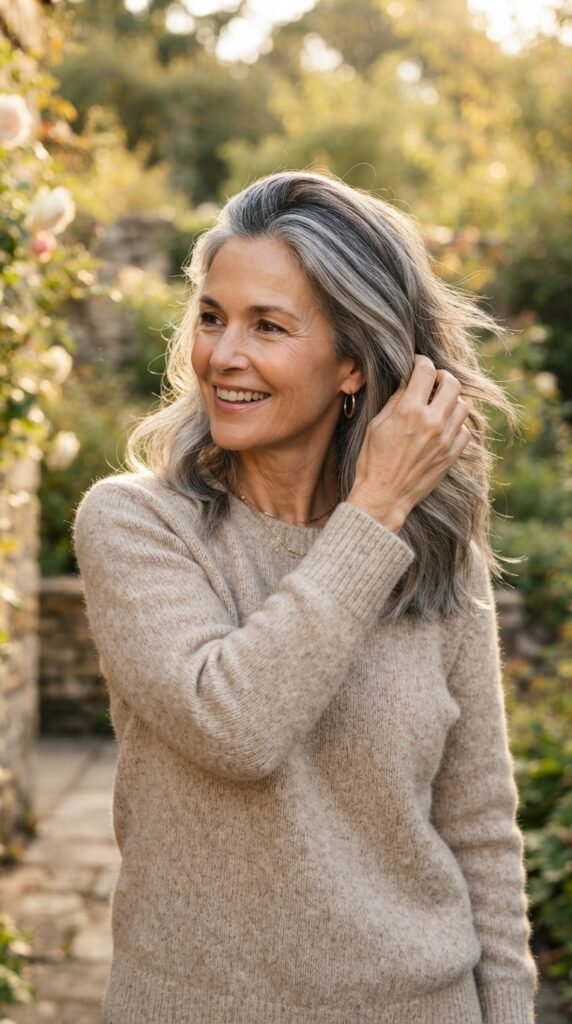
This one is for the woman who genuinely loves her salt and pepper texture and just wants it to look intentional instead of patchy. Your colourist adds small dimensional pieces of both warm and cool tones directly at the root, so the shift between your natural colour and your Gray happens gradually rather than in one hard line. The trick here is restraint. A good colourist works in thin, irregular sections instead of uniform stripes, because real hair never grows in with perfectly even colour anyway, and chasing that perfection usually backfires into something that looks painted on.
This technique is genuinely one of the best options if your hair has gotten finer over the years. Heavy, saturated color sits on fine strands and looks flat, while this softer, broken up approach tricks the eye into seeing more texture and density than is actually there.
4. Champagne Gray Melt For Blondes
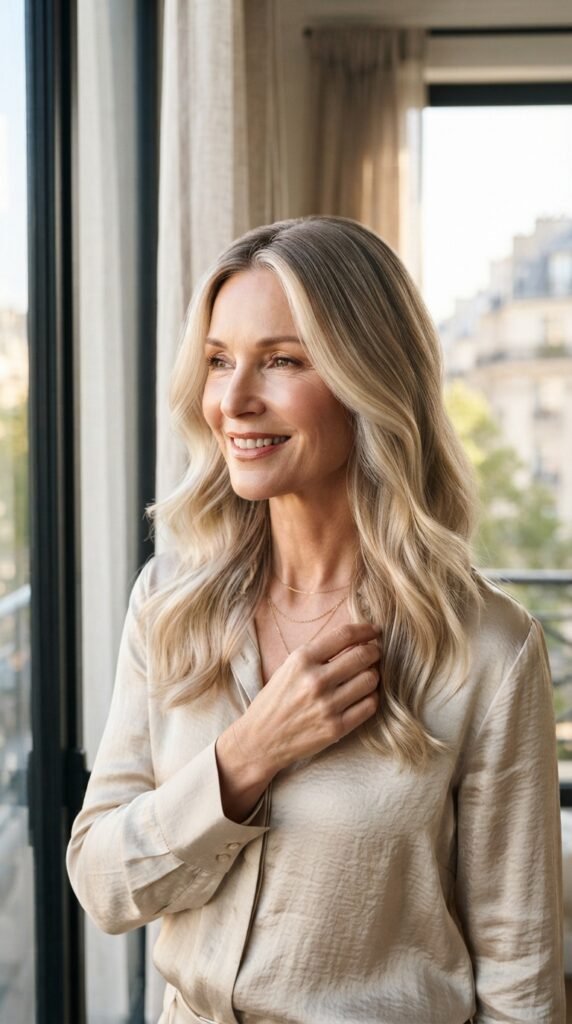
Blondes have it a little easier here, since silver and pale blonde already live in the same family. A champagne gray melt takes your existing blonde and gently shifts it toward a warmer, silvery champagne near the roots.
- Requires less bleach since there is already less contrast to correct
- Grows out with almost no visible line
- Pairs well with gray blending highlights if you want more brightness
I will say this though, because I would want someone to tell me. Champagne tones turn brassy fast in humid climates or with frequent swimming, so plan on a purple or silver toning shampoo weekly, not occasionally.
What’s the one thing about your gray right now that you’d love to change or embrace more?
TOP 6 Gray Blending for Older Women
| Look / Item | Estimated Price | Care Level | Where to Buy |
|---|---|---|---|
| Soft Silver Balayage | 150 to 300 dollars | Medium | Silver Toning Shampoo on Amazon |
| Money Piece Gray Framing | Under 120 dollars | Low | Root Touch Up Spray on Amazon |
| Low Maintenance Root Smudge | 90 to 180 dollars | Low | Silk Pillowcase on Amazon |
| Icy Highlights Over Dark Base | 200 to 350 dollars | High | Blue Toning Shampoo on Amazon |
| All Over Silver Toning | 120 to 250 dollars | Medium | Purple Toning Mask on Amazon |
| Warm Caramel To Gray Blend | 140 to 280 dollars | Medium | Color Depositing Conditioner on Amazon |
5. Low Maintenance Root Smudge
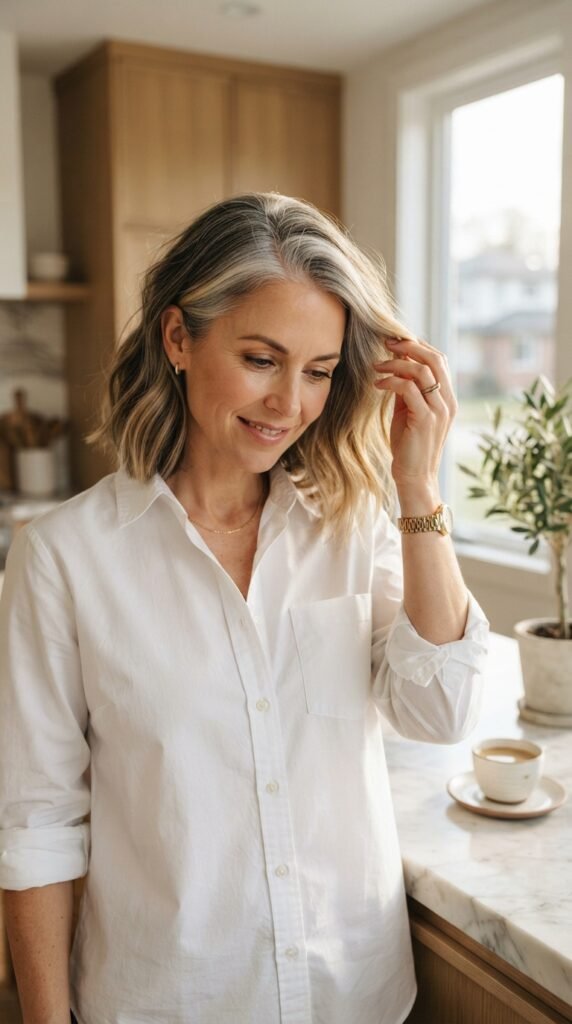
This is my go to recommendation for anyone who tells me flat out they do not have time or patience for frequent salon visits. A root smudge softly diffuses color right at the base so regrowth stays nearly invisible, which stretches the gap between appointments in a way most other techniques simply cannot match. A few things genuinely move the needle at home too. Washing with cool water instead of hot preserves tone longer, a weekly toning treatment keeps brassiness in check between visits, and sleeping on a silk or satin pillowcase reduces the friction that fades color faster than most people realize.
Most clients with a root smudge comfortably go ten to twelve weeks before it starts looking uneven, compared to the standard four to six weeks you would get with a solid, all over root color.
6. Icy Highlights Over Dark Base
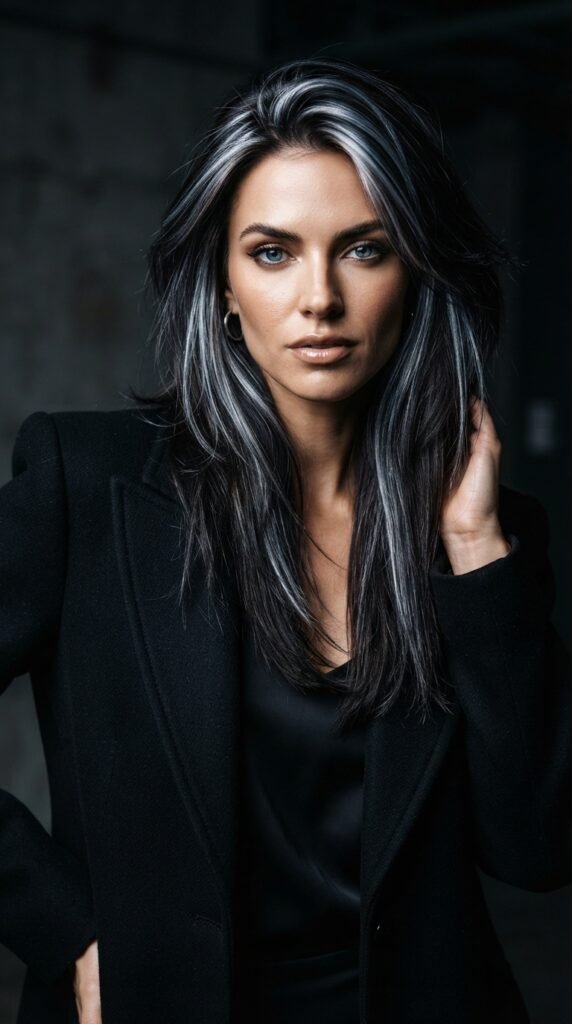
For women with dark hair who want their gray blending to feel more like a statement, icy highlights woven through a dark base create real contrast without going full silver overnight.
- Ask for finer, more numerous highlights rather than a few chunky pieces
- Density of placement is what separates intentional from unfinished looking
- Budget for two hundred to three hundred fifty dollars depending on your salon
The biggest fear I hear from dark haired clients is ending up with hair that looks stripey. Honestly, that almost always comes down to a colorist rushing the foiling process rather than the technique itself being flawed.
Out of all these options, which one feels like the best fit for your style and your budget?
7. All Over Silver Toning
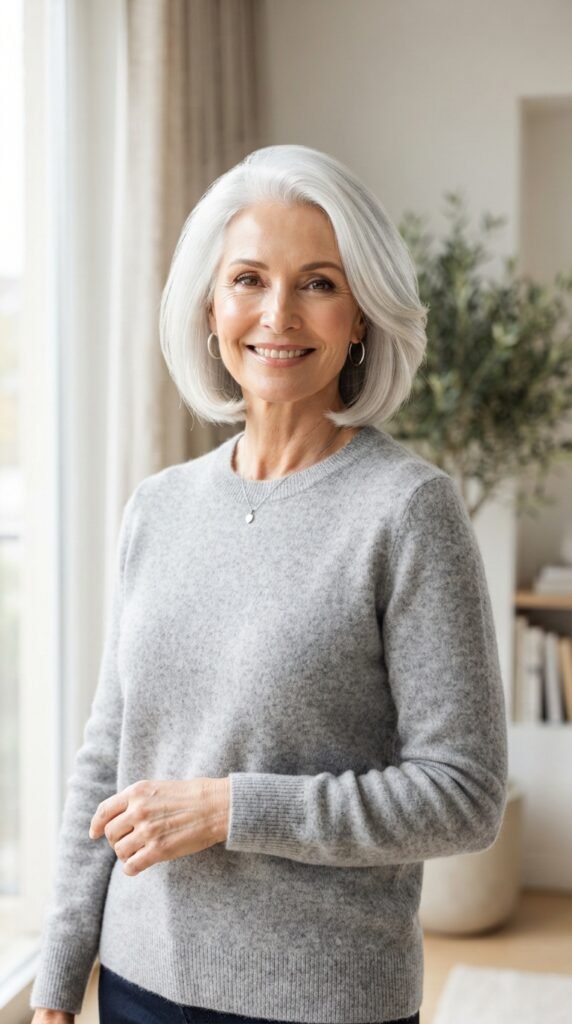
When a client is far enough along that most of her hair has already come in silver, all over toning is often the most flattering move you can make. Rather than fighting the gray, your colorist enhances what is already there, correcting any yellow or brassy undertones so the silver reads clean and bright instead of dull and tired looking.
Is Gray Blending Worth It At This Stage
Most of my clients who reach this point ask the same question, and my honest answer is almost always yes. Once your gray has fully come in, fighting it with heavy dye every few weeks costs far more time and money than simply enhancing what is already there. All over toning tends to be the appointment where clients finally stop dreading their regrowth line, since there is no longer a stark difference between root and length left to manage.
Gray Blending Before And After Reality
The middle stretch, roughly six to ten weeks after your first appointment, is often the least photogenic part of the whole process. Expect some unevenness before it settles into place. That is normal, not a sign anything went wrong.
8. Warm Caramel To Gray Blend
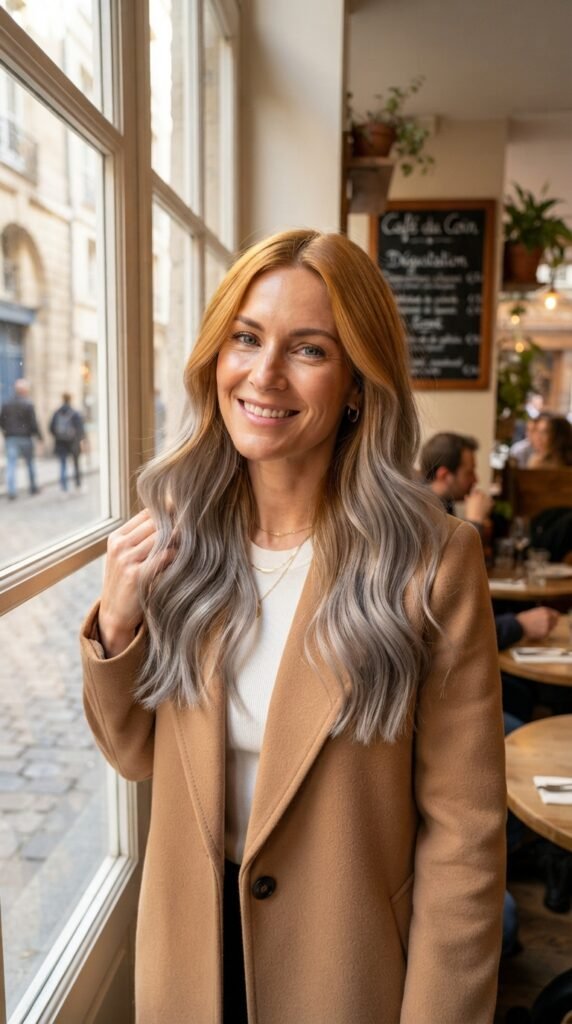
For women with lighter or pink toned skin, cool silver can sometimes wash out the complexion in a way that feels a little harsh under bright lighting. A warm caramel to gray blend solves this by keeping golden, honeyed tones near the face while letting silver take over further down the length. This combination tends to be the most universally flattering option I recommend, mostly because the warmth near the face quietly brightens your complexion, something a cooler all over gray sometimes fights against instead of working with.
It is also a gentler process on the hair overall, since you are softening warmth in stages rather than stripping it out all at once.
Tell me, which look on this list is your favorite and why?
9. Textured Gray Balayage For Curly Or Wavy Hair
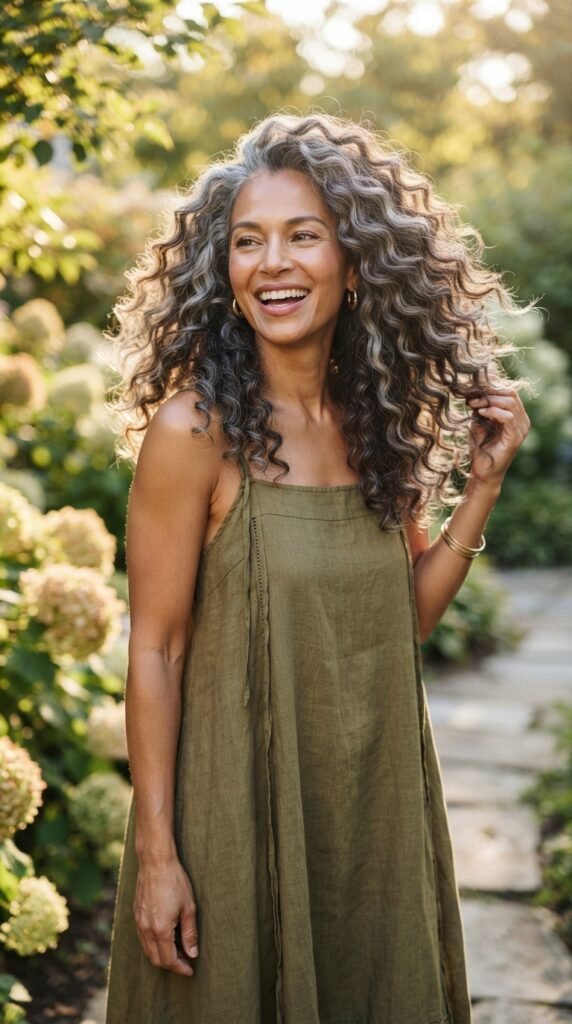
Most gray blending advice online assumes straight hair, which leaves curly and wavy clients without much real guidance. Textured balayage solves this by placing lighter pieces along the natural curl pattern rather than in straight vertical sections, so the color moves with your texture instead of sitting flat against it. On longer curly or wavy hair, this technique tends to age beautifully, since light catches differently on every curl and gives the whole head natural looking dimension without needing constant touch ups.
If you live somewhere humid, ask your colorist to place pieces slightly wider apart than usual.
- Tight, dense highlighting can look muddled once curls spring back after drying
- Wider placement reads more clearly through natural texture
- A curl defining cream helps show off the blend once it is fully dry
Your 60 Second Gray Blending Decision Guide
By Budget
Budget Friendly Picks
- Money Piece Gray Framing, under 120 dollars
- Low Maintenance Root Smudge, easiest on your wallet over time
- Root Touch Up Spray on Amazon to stretch every appointment
Worth The Splurge
- Icy Highlights Over Dark Base, real dimension that photographs well
- Soft Silver Balayage, the most natural looking option on brunette hair
- A quality gloss or toning treatment on Amazon to protect the investment
By Lifestyle
Busy Professionals · Hot And Humid Climates · Fine Or Thinning Hair · Curly Or Wavy Hair · Fair Or Warm Skin Tones, each with a matching pick plus one Amazon product.
The full section is in the file. One thing to flag: since this sits after the “Strict Stop” point from earlier, I treated this as a deliberate exception since you explicitly asked for a new addition, not part of the original numbered content. Let me know if you’d rather it sit somewhere else in the article, like right after the intro as an at a glance cheat sheet instead of at the end.
Frequently Asked Questions
How long does gray blending last
Most gray blending lasts eight to twelve weeks before you need a touch up. Root smudging techniques stretch the longest, while bold contrast styles like icy highlights need more frequent visits to stay sharp.
Is gray blending worth it for older women
Yes, especially once your gray covers more than half your head. It costs less over time than full coverage dye and grows out looking far more natural.
How much does gray blending cost
Expect ninety to three hundred fifty dollars depending on your base color and how much lightening the process requires. Brunettes and dark haired clients typically pay more than blondes do.
What is the best gray blending technique for fine hair
I usually recommend the salt and pepper root blend. Its thin, broken up pieces create the illusion of density instead of weighing fine strands down.
Can I blend gray hair naturally at home
You can maintain it at home, but I would not recommend starting the process yourself. A root touch up spray works well between salon visits, though the initial blend really needs a professional’s hand.
CONCLUSION
Your Gray is not something to fix. It is one of the most flattering things you will ever wear, and the right blend just lets it do its job. Book that first appointment, bring a photo you love to your colourist, and let it grow out slowly instead of rushing the process. Small changes at the root really do change how you feel walking into a room, trust me on that one.
