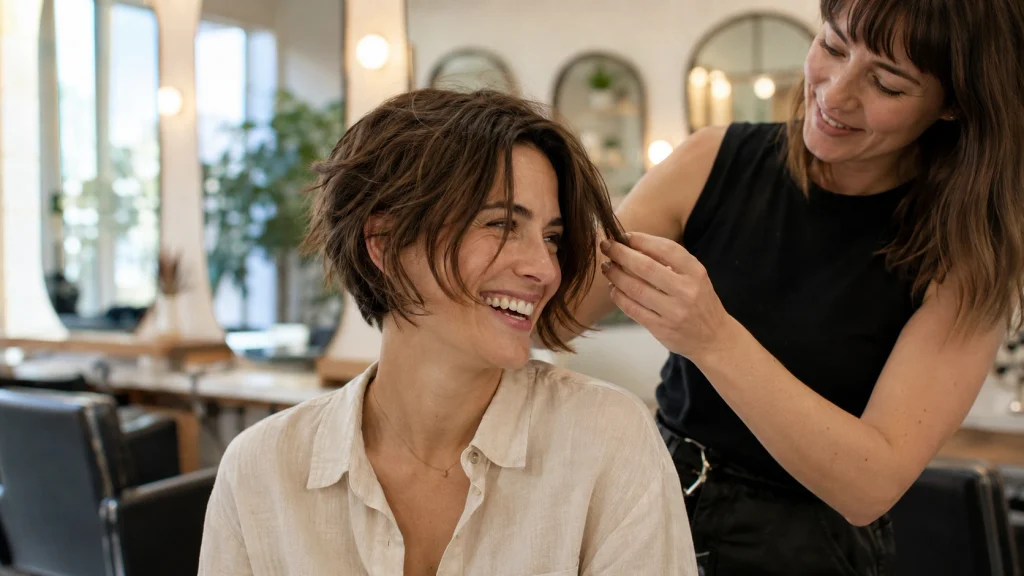
How to Grow Out a Pixie Cut without feeling frustrated by every awkward stage comes down to strategic trims, creative styling, and a little patience. As the top, sides, and back grow at different speeds, your haircut may temporarily lose its shape—but that doesn’t mean it has to look messy. With the right transition hairstyles, lightweight products, and well-timed salon visits, you can control unwanted bulk, avoid the dreaded mullet phase, and keep your hair looking polished. In this guide, I’ll walk you through each stage of the pixie grow-out journey and help you transition smoothly from a short crop to a bob or longer hairstyle.
My Styling Notes
I will never forget the bride’s best friend who walked into my chair three weeks before a Charleston wedding, five months into her own pixie grow out, begging me for “one more trim to just start over.” I get it, that in between length feels impossible some days. Instead I gave her a small shaping trim at the nape and taught her a slicked, pinned half up look with a silk lined headband. She texted me a photo from the reception that night, hair perfectly intact after hours of dancing in 90 percent humidity. My take after years of this? The urge to chop it all off usually hits hardest right before a breakthrough. Trust the process, and trust your stylist when they tell you to hang on a little longer.
16 Effortless Secrets to Mastering Your Pixie Cut Grow Out Journey
1. Quick Answer

If you want the short version, here it is. Growing out a pixie cut gracefully means getting small, strategic trims every four to six weeks that shape the back and sides while letting the top grow freely, leaning on texture and accessories instead of fighting your hair with heat, and giving yourself twelve to eighteen months to land somewhere around bob length. There is no magic trick that speeds this up. What actually works is patience paired with a smart maintenance plan, and I promise the in between phase looks a lot better once you know what to expect from it.
2. How Long Does Growing Out A Pixie Actually Take
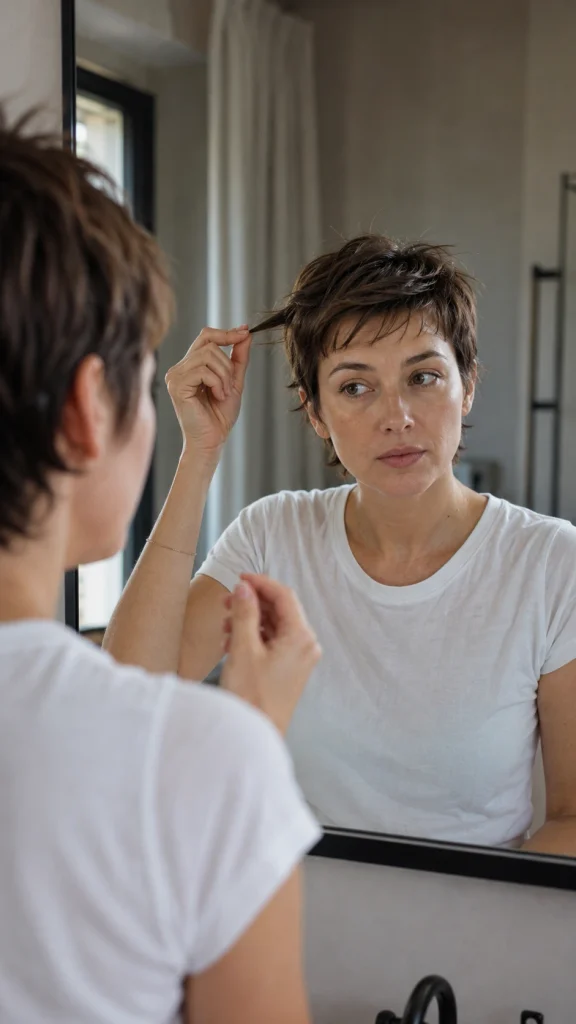
Hair grows about half an inch a month on average, so most people land somewhere between twelve and eighteen months to go from a true pixie cut to a soft bob. That said, your timeline depends on a handful of things that are honestly out of your control.
- Genetics play the biggest role, since growth rate is largely inherited
- Curly and coily textures tend to grow up rather than down, so length feels slower even when it is not
- Age, hormones, and stress levels all nudge your growth cycle one way or another
One thing I always tell my clients is to stop comparing their timeline to someone else’s Instagram grow out video. Your hair is doing its own thing on its own clock, and rushing it usually just means more damage to undo later.
3. The Four Stages Of A Pixie Grow Out
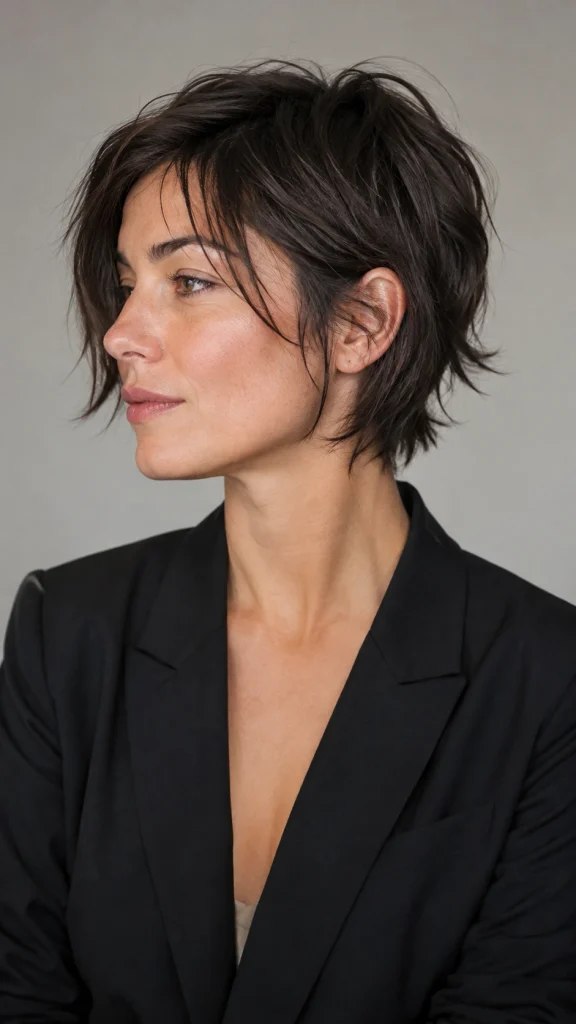
Knowing what is coming makes every single stage easier to survive, so let me walk you through the honest roadmap I give clients in my chair. Months one through three are what I call the shaggy pixie phase, and it is genuinely the easiest part since the cut still reads as intentional even as it softens. Enjoy this window while it lasts.
Months three through six are the real test. This is the awkward stage where the back of your head grows faster than everything else, and if you are not careful, you start creeping toward mullet territory—if you find yourself leaning into that transitional texture, you might even find inspiration in a intentional shaggy pixie mullet. Around months six through twelve, things start clicking into place again as your hair moves into what I call the pixie bob, where ears get covered and styling suddenly feels fun again instead of frustrating. By months twelve through eighteen, you have basically made it, and from there it really is just about length and keeping your ends healthy.
4. The Trim Strategy Nobody Explains Properly
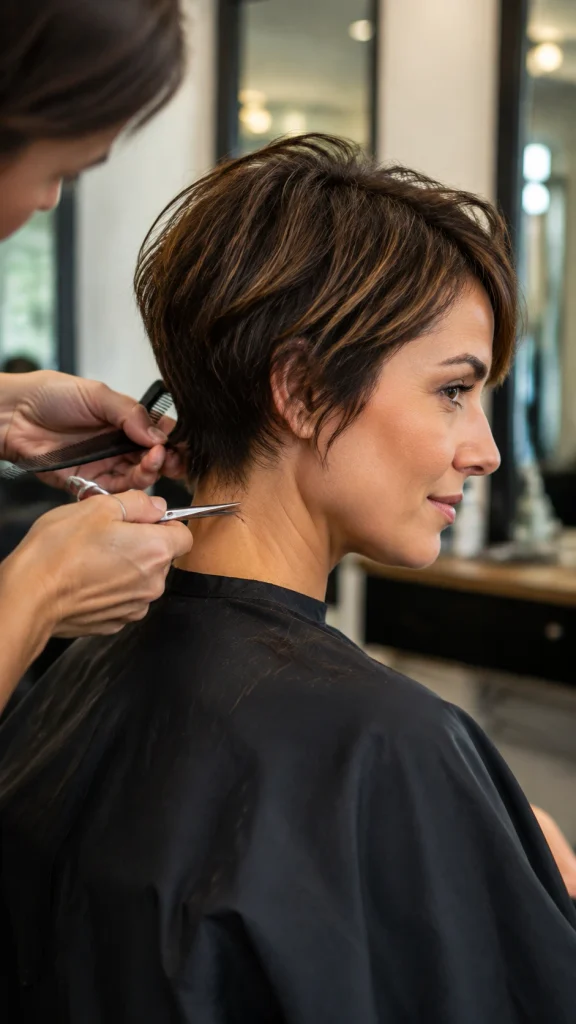
Here is the part that trips people up the most. Trimming sounds like the opposite of growing your hair out, but it is honestly the secret weapon that keeps your grow out looking shaped instead of shapeless. A quick trick I have learned after years behind the chair is that the trim itself matters less than what you actually ask your stylist to do with it.
When you sit down, be specific. Ask them to clean up the back and sides while leaving the crown and top completely alone. This steers your whole head toward one even length instead of leaving you with a longer top and a stubby, mullet leaning back.
- Fine or medium hair usually needs a trim every four to six weeks
- Thicker or coarser hair can often stretch that to six to eight weeks
- A quick neckline tidy between full trims works wonders and rarely costs much at all
Skipping trims entirely might feel like progress, but split ends travel up the hair shaft over time and force a much bigger cut down the road. A tiny trim now genuinely saves you a dramatic one later.
5. How To Avoid The Dreaded Mullet Stage
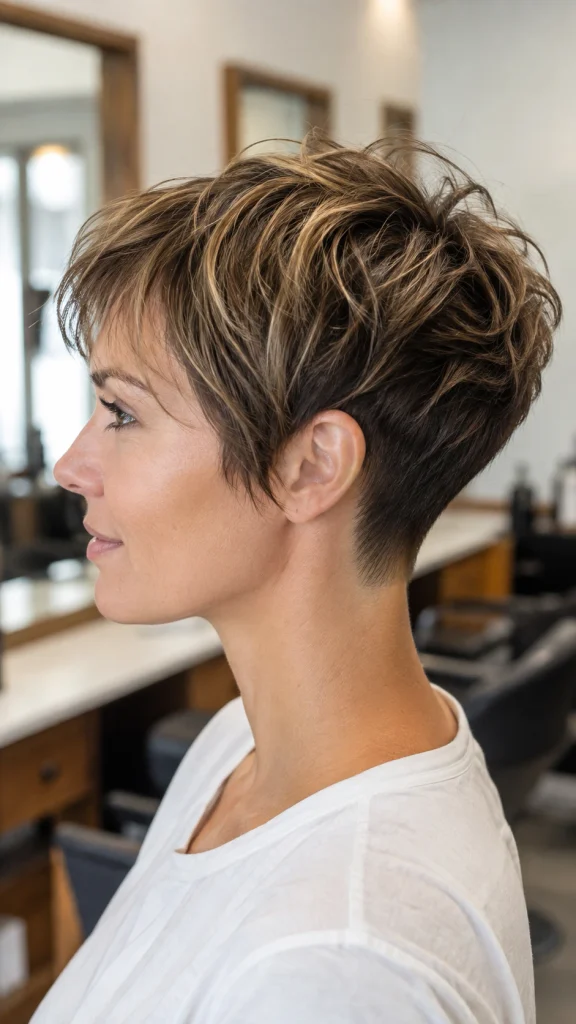
The mullet panic is real, and honestly, almost everyone growing out a pixie has that one week where they catch their reflection at a weird angle and gasp. It happens because the nape of your neck grows faster than the crown, giving your back hair a head start that the rest of your head just cannot match yet.
The fix is simpler than people think. Keep asking your stylist to trim that nape area close and tidy at every visit, even if it feels counterintuitive to cut hair you are trying to grow. One thing I always tell my clients is that a neckline cleanup is often the cheapest service on the whole menu, so there is no excuse to skip it between full trims.
- Ask specifically for a nape and neckline trim, not a full cut
- Request that layers on top stay untouched so length keeps building there
- Book this every three to four weeks if your hair grows fast in the back
Do this consistently and the mullet phase basically disappears before it starts.
6. Climate And Regional Styling Realities Across America

Nobody talks about this enough, and it genuinely changes everything depending on where you live. If you are growing out your pixie in New Orleans or Houston, humidity is going to test every product promise you have ever believed. Frizz shows up faster, texture gets bigger, and anything lightweight tends to fall flat by noon.
Out on the West Coast, dry air and constant wind create a different kind of chaos, usually flyaways and static rather than puff. My clients in coastal cities often do better with a light anti frizz serum plus a strong hold pin rather than heavy product, since salt air alone adds enough texture on its own.
For anyone in colder climates dealing with hats and scarves half the year, static becomes the real enemy, and a silk lined beanie genuinely makes a difference. If you are commuting through humid subway air in a city like New York, my honest advice is to build your style around movement rather than perfection, since sleek and flat rarely survives a sweaty platform anyway.
7. Styling For Your Face Shape And Body Type

This is one of the biggest gaps I see in most advice online, and it matters more than people realize during an awkward grow out. A round face often looks best with a bit of height at the crown and length brushing toward the cheekbone, which helps elongate things visually. Square jaws tend to soften beautifully with side swept pieces instead of anything blunt or too structured near the jawline.
If you are petite, oversized headbands or huge scarves can accidentally overwhelm your frame, so I usually steer smaller framed clients toward delicate clips and thinner headbands instead. For anyone with a curvier build, a slightly longer, softer transition style through the grow out tends to balance proportions better than something razor sharp and severe.
None of this is a hard rule, more like a starting point. Play with what actually makes you feel like yourself in the mirror, since confidence honestly does more for a hairstyle than any technique ever could.
8. Product Budget Tiers That Actually Work
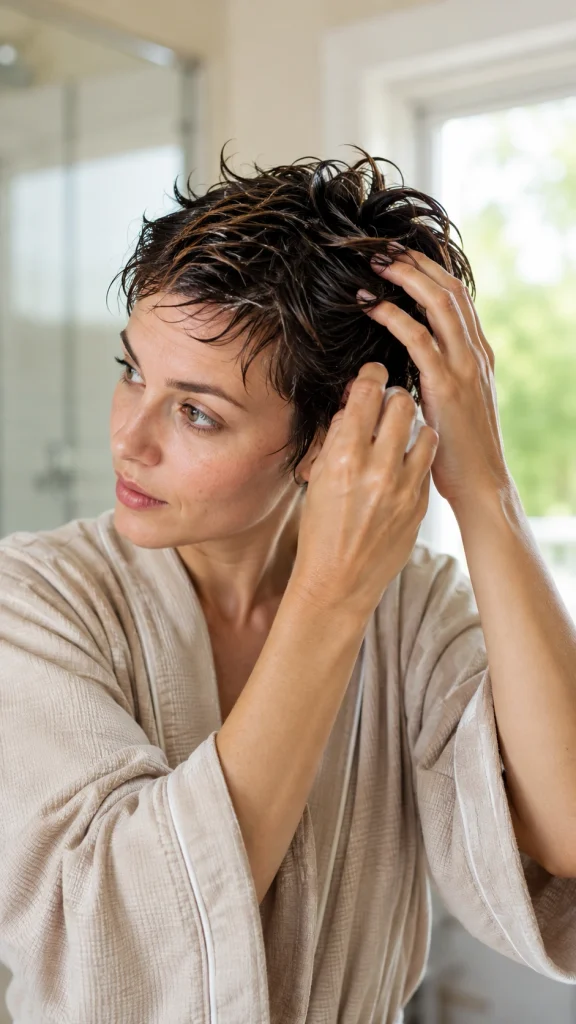
Let’s talk money, because not everyone wants to drop eighty dollars on a headband, and that is completely fair. I like giving clients options across a few price points so they can build a routine that fits their actual life.
On the drugstore end, a basic heat protectant spray and a texturizing dry shampoo will genuinely carry you through most of the awkward stage without breaking the bank. Mid range brands are worth it mainly for one splurge item, usually a good leave in conditioner or a quality volumizing mousse, since those tend to make the biggest visible difference day to day.
- Budget tier: heat protectant, dry shampoo, basic bobby pins
- Mid range tier: one strong leave in conditioner or texture spray
- Splurge tier: a silk pillowcase and one well made headband you will wear constantly
You genuinely do not need every product on a stylist’s shelf. Pick two or three that solve your specific problem and skip the rest.
9. Accessories That Actually Elevate A Grow Out
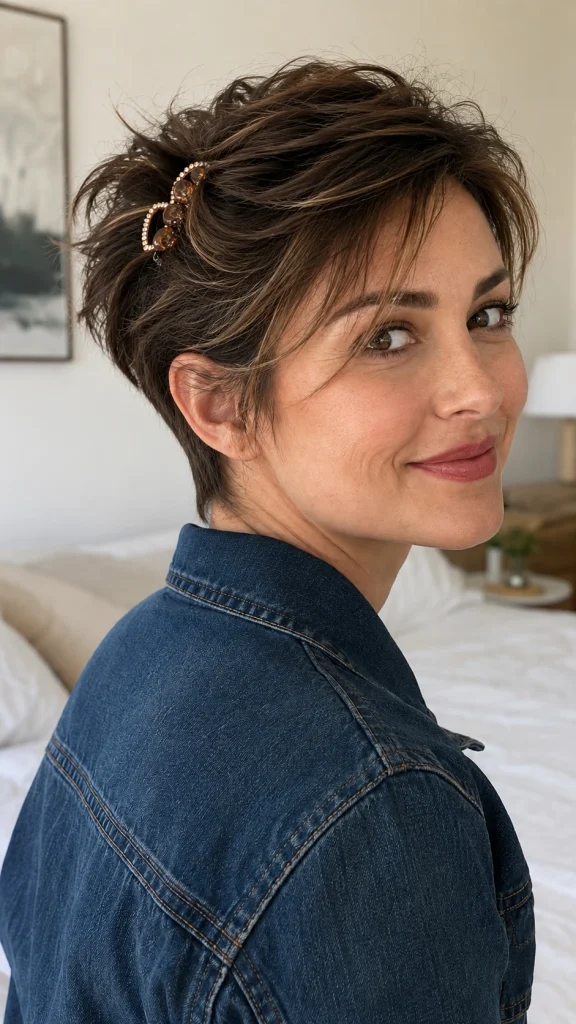
Accessories are honestly the most underrated tool during this whole phase, and the current renaissance of hair clips means you have more options than ever before. Mini claw clips grip even shorter layers surprisingly well, jeweled pins turn a random pinned back section into something that looks deliberate, and a silk scarf can pull a messy day into an editorial one.
My favorite move with clients is teaching them to treat accessories as part of the outfit rather than a hair emergency fix. Etsy is genuinely a great place to find handmade headbands and clips from small makers if you want something that does not look like everyone else’s.
One line worth remembering here, borrowed from something I say constantly in the chair, the goal is not to hide your awkward length. It is to make it look like a choice.
10. Heat Styling Without Wrecking Your Progress
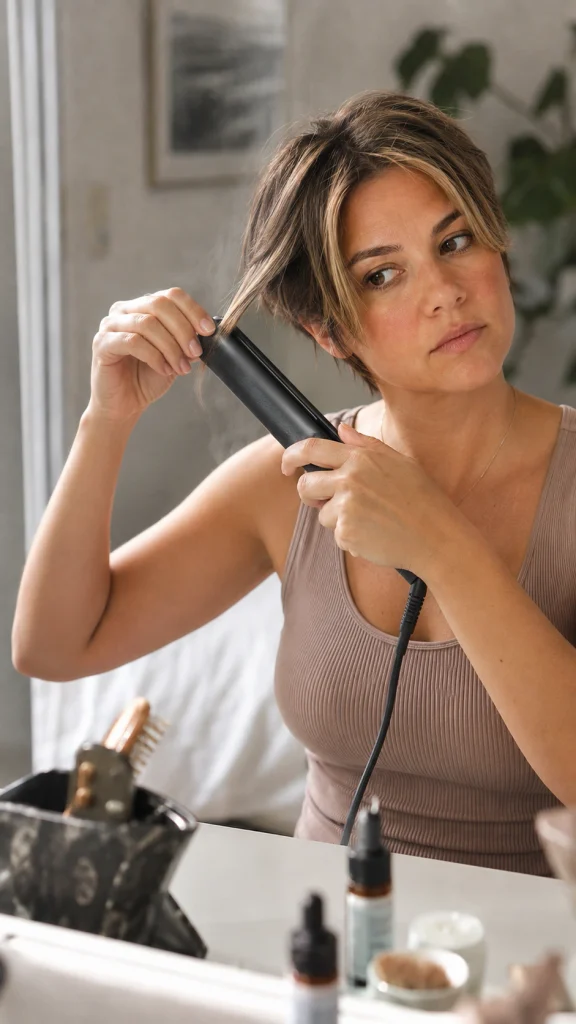
Heat and a fragile grow out do not mix well, and I have watched too many clients undo months of careful trimming with a flat iron they reached for out of frustration. That said, I am not going to pretend heat tools are off limits forever, because sometimes you just need five smooth minutes before a big meeting.
The rule I give everyone is simple. Always use a heat protectant, no exceptions, and keep the tool moving rather than holding it on one section. A quick trick for anyone dealing with choppy, uneven ends is to slightly curve your flat iron as you glide through, which softens harsh lines instead of leaving pin straight, blunt looking pieces.
- Use a lightweight heat protectant spray before any hot tool
- Keep styling tools on the lowest effective temperature setting
- Limit heat styling to two or three times a week during the awkward stage
Give your hair more heat free days than styled ones, and the difference in shine and breakage will genuinely surprise you within a month or two.
11. Your Overnight Routine Matters More Than You Think

This one gets skipped constantly, and it is such an easy fix. Cotton pillowcases pull moisture straight out of your hair overnight and create friction that leads to breakage, which is the last thing fragile grow out ends need.
Switching to a silk or satin pillowcase is genuinely one of the lowest effort changes you can make, and clients who do it often notice less frizz within a couple of weeks. If your hair is at that in between length where it constantly falls in your face while you sleep, a loose silk scrunchie in a low ponytail works better than anything tighter, since tension while you sleep adds up over months.
Small habit, big payoff, and honestly one of my favorite things to recommend because it requires zero extra effort once the pillowcase is on your bed.
12. Styling For The Office And Professional Settings

Awkward length hair reads differently depending on where you work, and this is something I wish more advice actually addressed. In a corporate or client facing office, a sleek half up style with a simple pin usually looks the most put together, since it reads as intentional rather than in between.
Creative offices give you way more room to play, so lean into texture, a bold clip, or even a slightly undone look, since that environment tends to reward personality over polish. For anyone working remotely and living mostly on video calls, my honest advice is to focus styling effort just around the face and part line, since that is really all the camera sees anyway.
- Corporate settings: sleek half up styles with a simple pin
- Creative offices: textured looks with bold accessories
- Remote work: focus effort on face framing pieces only
Dress your hair for the room you are actually walking into, not some imaginary universal standard.
13. Working Out Without Undoing Your Progress

Sweat and an awkward grow out are not exactly best friends, but you do not have to choose between your gym routine and your hair goals. The trick is keeping tension low, since tight ponytails pulled at the same spot every single workout can actually stress fragile new growth along your hairline.
A loose braid or a few small claw clips positioned differently each time tends to work better than one tight, repetitive style. For anyone dealing with sweat around the hairline, a thin sweatband or bandana genuinely does double duty here, soaking up moisture while also hiding those shorter pieces that will not quite stay put yet.
One thing I always remind clients who work out daily is to rinse and gently reset their part after sweating, since product buildup at the scalp during this stage can slow things down more than people realize.
14. Extensions And Wigs Without The Guesswork
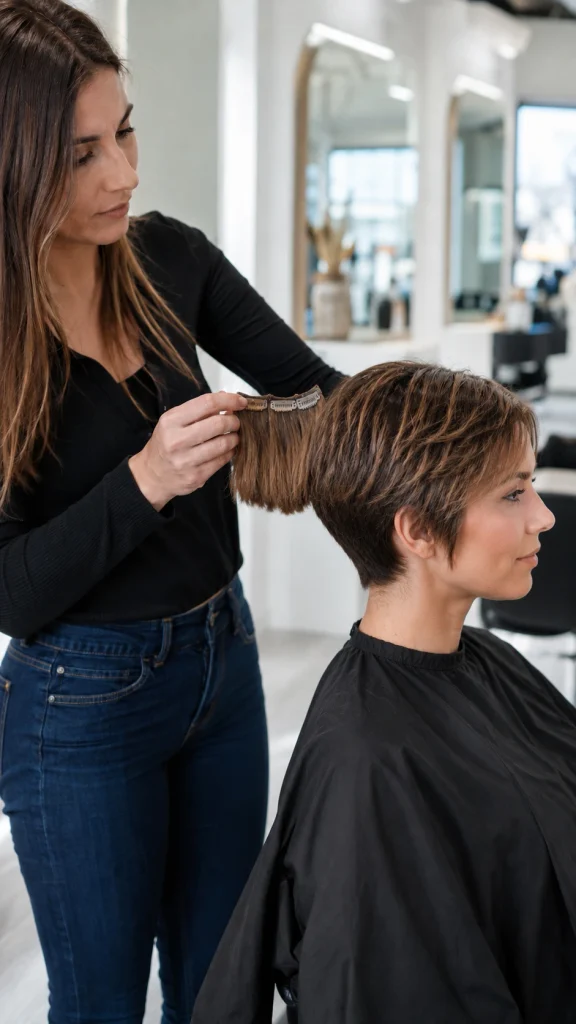
Extensions and wigs get a bit of a bad reputation, but honestly, some of my favorite grow out transformations have involved both, and there is zero shame in reaching for either one. Clip ins are the lowest commitment option once your hair is long enough to hide the clips comfortably, usually somewhere around the pixie bob stage.
Tape ins and keratin fusions cost more and require salon upkeep every few weeks, but they blend seamlessly and can genuinely skip you past the entire awkward phase if that is worth it to your budget and lifestyle. Wigs are the ultimate no commitment option, and I will be honest, some of my clients’ best hair days during a grow out happened on wig days when they simply did not feel like negotiating with their real hair that morning.
Costs vary wildly by city and method, so always ask for a full breakdown before booking, since maintenance appointments add up fast on the more permanent options.
15. Styling For Photos And Social Media

This one nobody talks about, and it is such a real modern concern. Awkward length hair photographs very differently than it looks in the mirror, mostly because of angle and lighting rather than the actual cut itself.
A slight side angle almost always photographs better than a straight on shot during this phase, since it hides length inconsistencies naturally. Movement helps too, so a slight head tilt or hair caught mid laugh reads as effortless rather than posed, which honestly works in your favor when your hair is not cooperating perfectly.
My favorite trick for photos specifically is adding one accessory, even something small like a single pin, since it gives the eye somewhere intentional to land instead of focusing on the length itself.
16. Diet, Supplements, And Scalp Health Honestly
Let’s clear something up, because I get asked about biotin constantly. It only meaningfully helps if you are actually deficient in it, and most people eating a reasonably balanced diet are not. Real, sustainable hair growth comes from overall nutrition, a healthy scalp, and simply not breaking the hair you already have through rough handling or excess heat.
That said, a healthy scalp genuinely is the foundation everything else builds on. For expert-backed methods to optimize your routine, reviewing these tricks to make your hair grow fast
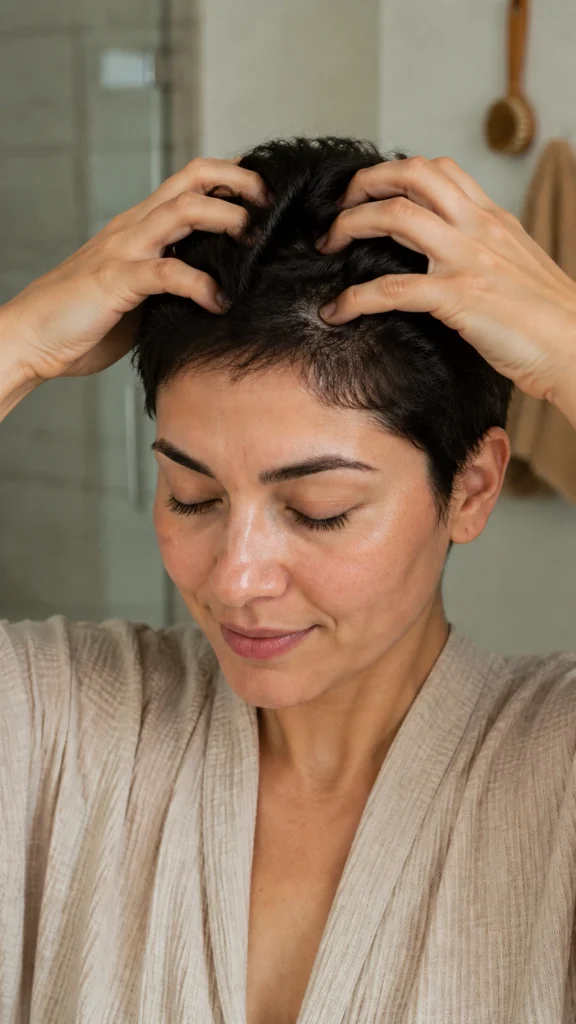
can help you focus on routines that reduce breakage and improve follicle health. A weekly scalp massage or gentle scrub boosts circulation, and foods rich in protein, zinc, and B vitamins support growth from the inside far more reliably than any pill promises to
- Prioritize protein and healthy fats in your regular diet
- Add a weekly scalp massage or gentle exfoliating treatment
- Talk to your doctor before starting any supplement, since some interfere with lab testing
Patience paired with basic scalp care will always outperform a shortcut in a bottle.
Your 60 Second Grow Out Cheat Sheet
By Budget
Budget Friendly Picks
- Basic heat protectant spray, under 20 dollars on Amazon
- Mini claw clip multipack, under 15 dollars on Amazon
- Dry shampoo with texture, under 25 dollars on Amazon
Worth The Splurge
- A quality silk pillowcase, holds up for years
- One well made headband you will reach for constantly
- Clip in extensions if you want length without waiting
By Lifestyle
Busy Professionals
- Sleek half up style with one simple pin
- Dry shampoo at the roots between washes
- Clip in extensions for last minute meetings
Hot And Humid Climates
- Lightweight anti frizz serum, skip the heavy gels
- Silk lined headband that holds through sweat
- Braids or pinned styles over anything sleek and flat
New Moms And Low Effort Mornings
- Claw clip as your default five second style
- Texturizing spray for second or third day hair
- Skip heat tools entirely on the busiest mornings
Weekend Casual
- Loose waves with a texturizing mousse
- Scarf tied loosely for effortless movement
- Let natural texture do most of the work
Frequently Asked Questions
How long does it take to grow out a pixie cut?
Most people need twelve to eighteen months to reach a bob, since hair grows about half an inch a month on average. Your exact timeline depends on genetics, hair type, and how consistent you are with trims along the way.
What is the awkward stage and how do I survive it?
It usually hits around months three through six, when the back grows faster than the top and your cut stops looking intentional. Strategic trims, texture styling, and accessories like clips and headbands carry you through it without a mullet in sight.
Should I keep trimming while growing out my hair?
Yes, always. Small trims every four to six weeks remove split ends before they travel up the strand and force a much bigger cut later on.
How do I avoid a mullet while growing out a pixie?
Ask your stylist to keep the nape and neckline trimmed close while letting the top and crown grow freely. This keeps everything moving toward one length instead of an uneven, back heavy shape.
Does biotin actually speed up hair growth?
Only if you are genuinely deficient in it, which most people are not. A balanced diet and a healthy scalp will always do more heavy lifting than a supplement bottle.
What hairstyles work best during an awkward grow out?
Textured, tousled styles early on, pinned back sections and headbands through the middle stretch, and simple braids once your length allows for them. If your strands are naturally fine, experimenting with smart low-maintenance haircuts for fine hair can help maintain body without constant heat styling. Wigs and clip in extensions are completely fair game too.
Conclusion
You survived the awkward stage before you even started worrying about it, because now you actually know what is coming instead of guessing your way through it. That is the whole game. Every small choice along the way, the trims you do not skip, the silk pillowcase, the headband you reach for on a bad hair day, adds up to a grow out that looks intentional instead of accidental. So pick one thing from this guide, just one, and do it today, whether that is booking your next trim or finally grabbing that clip you have had saved in a cart for weeks. What stage are you in right now, and what has been the hardest part for you? Tell me in the comments, I read every single one.

1 thought on “How to Grow Out a Pixie Cut Gracefully: Stage-by-Stage Guide”