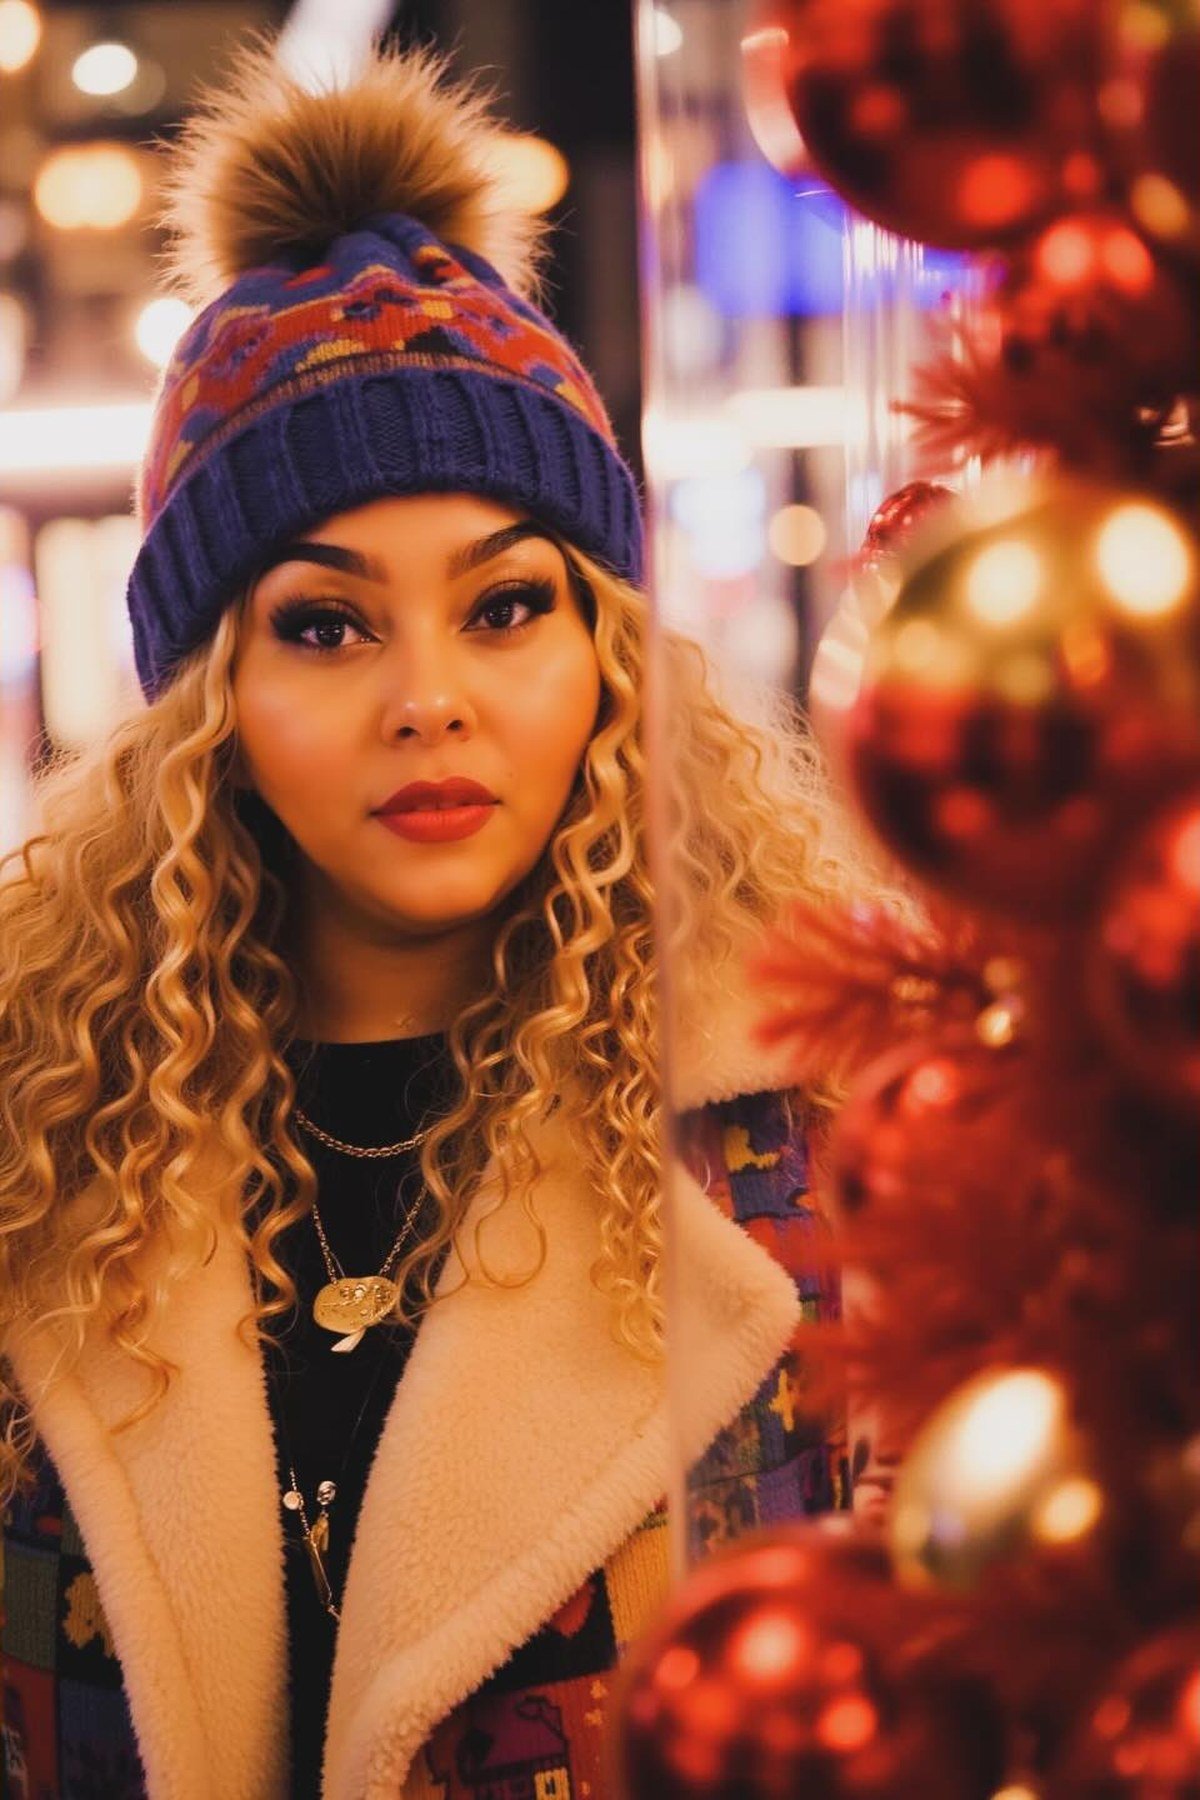
Finding beanie hairstyles that survive a whole winter day is trickier than it looks. You put the beanie on and your hair looks cute; you take it off and the mirror tells a different story — flat crown, frizzy ends, and a parting that has wandered somewhere near your ear. The good news is that hat hair is not inevitable. The secret is choosing styles that work *with* the beanie instead of fighting it: low, smooth shapes that sit comfortably underneath and spring straight back when the hat comes off.
Below you will find 31 beanie hairstyles for women, grouped so you can skip straight to what suits your hair — braids that stay put, low buns, ponytails, loose waves, ideas for curly and textured hair, and styles that actually work on short cuts. Every look is chosen for one thing: it still looks like you meant it when the beanie comes off.
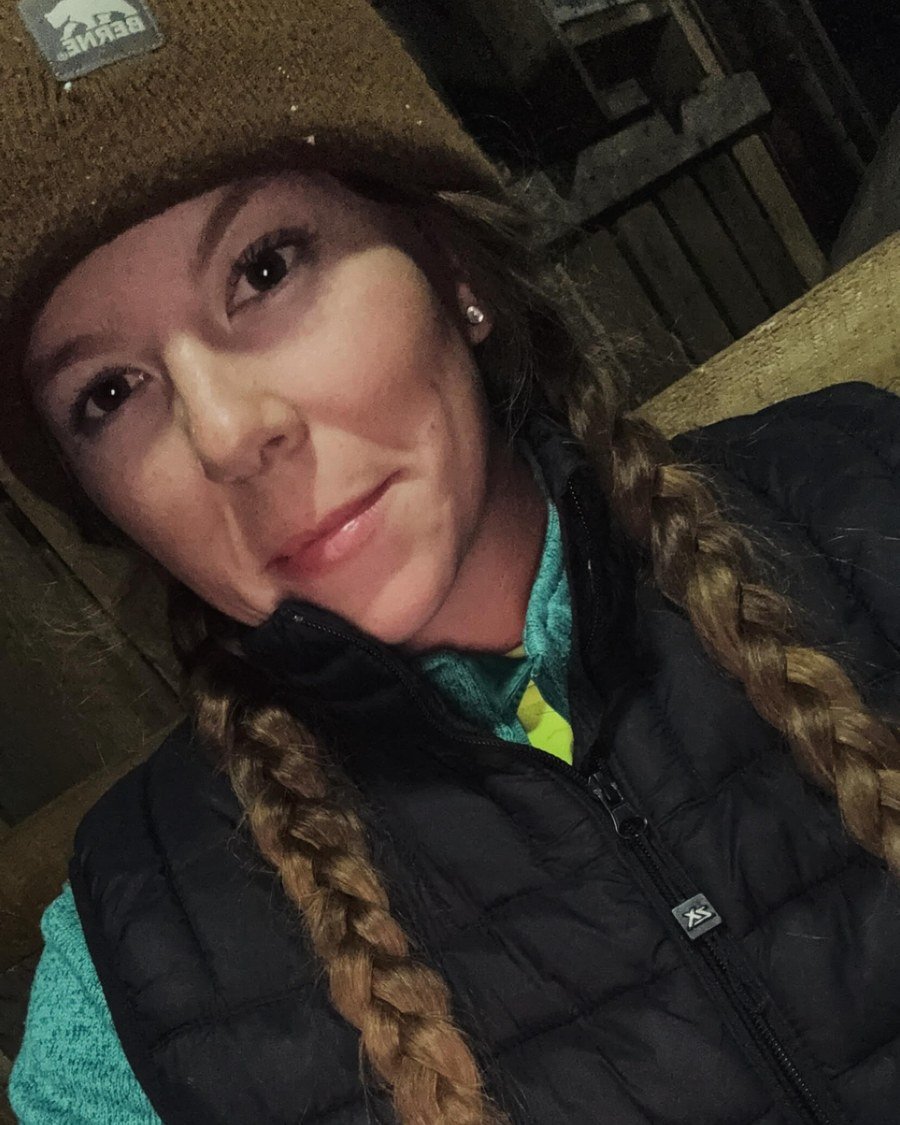
Braids That Stay Put Under a Beanie
1. The Low Side Braid
The low side braid is the single most reliable beanie hairstyle in existence, and it works on almost every hair type. Sweep everything over one shoulder into a loose three-strand braid that starts behind the ear — it sits perfectly flat under the hat, keeps your ends off your coat collar, and still looks intentional hours later. Keep the tension relaxed at the top; a tight braid plus a snug beanie equals a headache and an odd dent.
Best for: Medium to long hair of any texture. Styling: Brush hair smooth, gather it over one shoulder, and plait loosely. Gently pull the braid apart (pancaking) for a fuller finish that hides any flattening. Ask your stylist: "How do I braid loosely enough to avoid tension dents but keep it secure all day?"

2. Double Dutch Braids
Two Dutch braids keep every strand contained, which means zero tangles and zero frizz when the beanie comes off — you will look exactly as neat at 5pm as you did at 8am. Part down the middle and braid each side with the strands crossing *under* for that raised Dutch effect, keeping the braids slightly loose at the hairline so the beanie does not press uncomfortably. Bonus: sleep in them and wake up to heatless waves the next morning.
Best for: Long, thick hair that tangles easily. Styling: Mist the ends with leave-in conditioner before braiding to prevent winter dryness, and secure with snag-free elastics. Ask your stylist: "Should I start my Dutch braids at the hairline or below the ear for the most comfortable fit under a hat?"
3. The Loose Fishtail Braid
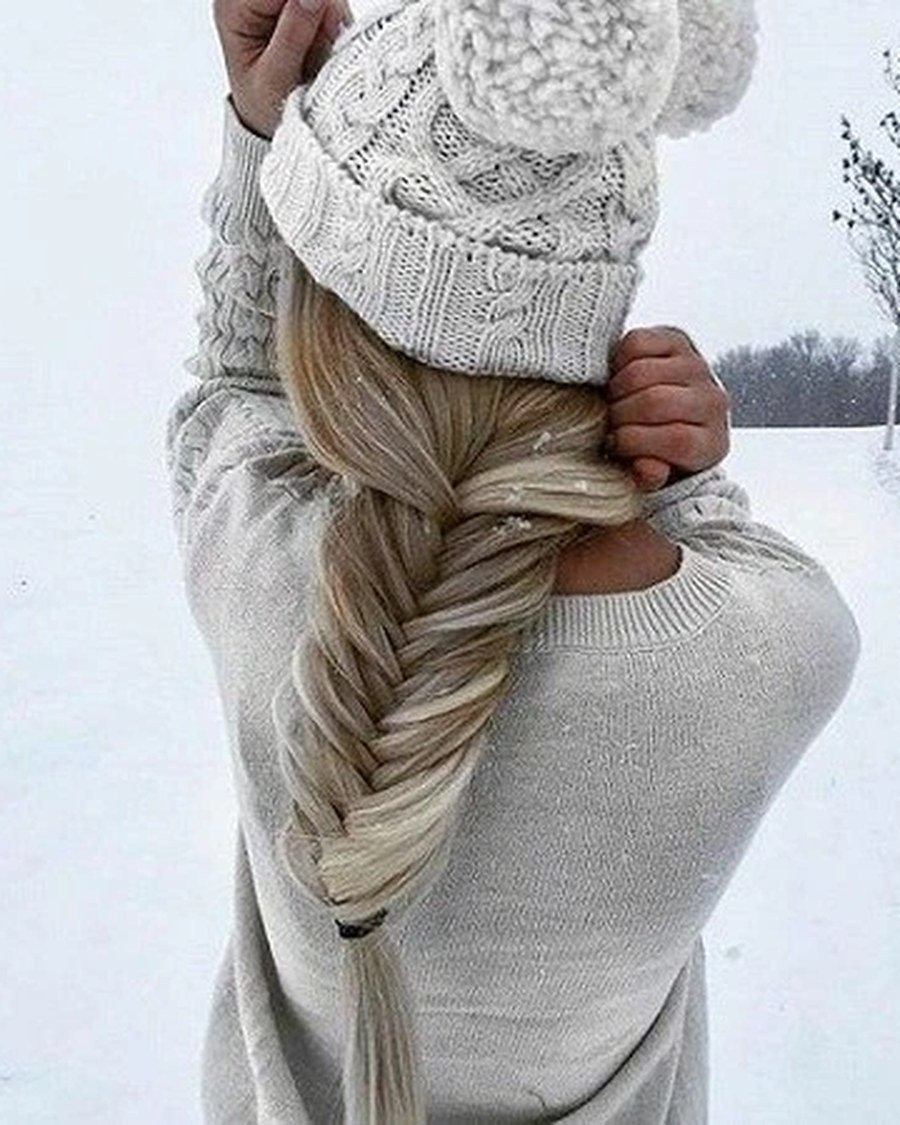
A fishtail braid looks impressively intricate but takes about five minutes, and its flat profile slides under a beanie without any bulk. Drape it over one shoulder for a style that reads polished from every angle, then pull the edges apart gently for a soft, full finish. Work a pea-sized amount of cream through the lengths first — it tames flyaways without making the braid slippery, and a relaxed braid will not leave a hard dent where the hat pressed.
Best for: Medium to long, fine to medium hair. Styling: Divide hair into two sections and alternate small pieces from the outer edges until you reach the ends. Ask your stylist: "What product keeps my fishtail smooth under a hat without making it slide apart?"
4. The Classic French Braid
The French braid is the workhorse of winter hairstyles for a reason: it hugs the head, sits completely flat under any beanie, and keeps every layer tucked away from wind and static. Start the braid high at the crown and keep your sections even for a neat finish, or go slightly messy at the edges for a softer look. Unlike loose styles, there is nothing for the beanie to crush — the silhouette is identical when the hat comes off.
Best for: Layered hair that escapes from ponytails. Styling: Brush through completely first, then braid from the crown to the nape, securing with a small elastic. A light mist of hairspray keeps layers in. Ask your stylist: "How do I keep my shorter layers from poking out of a French braid under a beanie?"

5. Bubble Braids
Bubble braids are the playful answer to boring beanie hair — a ponytail (or two) sectioned into puffs with small elastics, then fluffed for volume. The bubbles sit low and soft, so they compress gracefully under the hat and pop right back when it comes off. This style doubles the perceived volume of fine hair and stays secure through wind, commutes, and long days. Two bubble braids give a sporty feel; one keeps it grown-up and pretty.
Best for: Fine hair that needs volume. Styling: Secure a low ponytail, add elastics every couple of inches, then gently tug each section wider. Ask your stylist: "How many elastics should I use so the bubbles stay even without sliding?"

6. The Boho Headband Braid
A thin braid running along the hairline acts as a built-in decorative edge that stays fully visible no matter how the beanie shifts through the day. This is the trick for women who feel a beanie hides their whole hairstyle — the braid frames the face above the hat's edge and keeps the look deliberate. A Dutch braid works best here because the raised ridge sits outside the hairline instead of being pressed flat. Finish the rest of the hair however you like; the braid does the talking.
Best for: Fine to medium hair with face-framing layers. Styling: Dutch-braid a one-inch section along the hairline from one temple to the other, pinning the end behind the ear. Ask your stylist: "How close to the hairline should a headband braid sit so the beanie never covers it?"
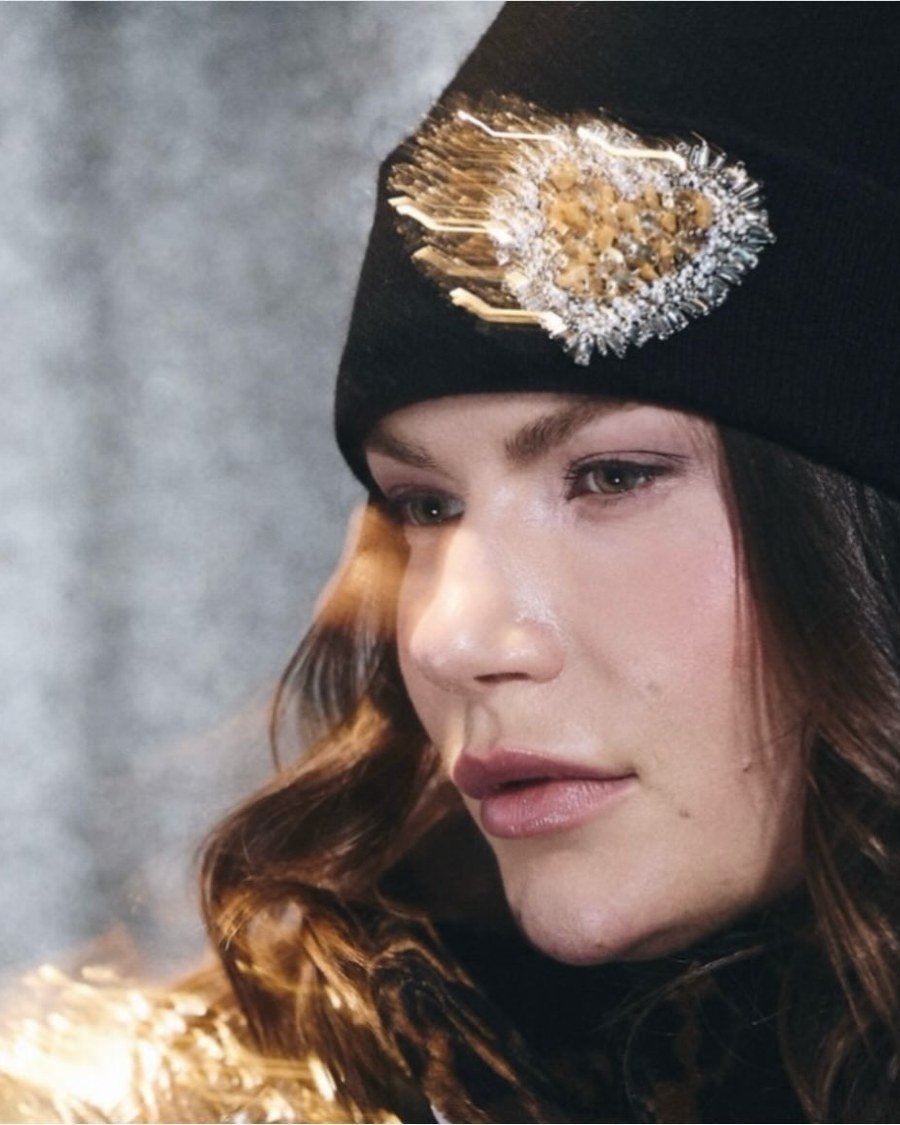
7. The Braided Crown (Tucked)
A braided crown wraps the hair right around the head like a halo, creating the flattest, most comfortable base possible under a snug beanie — no bumps, no pressure points. It also doubles as a heatless styling method: take the crown down in the evening for soft, defined waves. Keep the parts neat and moisturise the twists underneath, because winter air is drying even under a hat. This is a beautiful option for evenings when the beanie comes off at the door.
Best for: Medium to long hair, all textures. Styling: Split hair into two braids, wrap them across the crown in opposite directions, and pin flat. Ask your stylist: "How do I pin a braided crown so it lies flat without lumps under a tight beanie?"

8. The Side Rope Twist
For an elegant twist on the classic braid, part your hair to the side and twist two sections around each other all the way down the hairline and into the bulk of your hair. The rope twist is flatter and sleeker than a three-strand braid, so it slips under a beanie effortlessly and stays smooth for hours. Wear the beanie slightly back on your head so the twist is visible at the front — it looks far more intricate than the two minutes it takes.
Best for: Medium to long hair, straight to wavy. Styling: Twist each section the same way, then wrap them around each other in the opposite direction so the rope holds. Ask your stylist: "How do I stop a rope twist from unravelling under the friction of a beanie?"

Low Buns and Tucked-Up Styles
9. The Loose Low Bun
Twist your hair into a relaxed bun at the nape — not a tight ballerina knot, but a soft, slightly messy twist pinned loosely. The beanie covers the bun's base, so it can be as imperfect as you like underneath, and because it sits low there is no bump pushing the hat up or sliding it forward over your eyes. Pull a few wisps free around the ears before the hat goes on; they frame the face once the beanie is in place. Cozy, polished, and genuinely hat-proof.
Best for: Medium to long hair of any texture. Styling: Gather hair low, twist loosely, and secure with three or four bobby pins or a spin pin. Ask your stylist: "What is the lowest comfortable placement for a bun that still looks intentional?" Love low updos? Our guide to 16 updos for fine thin hair that stay beautiful has more hat-friendly options.
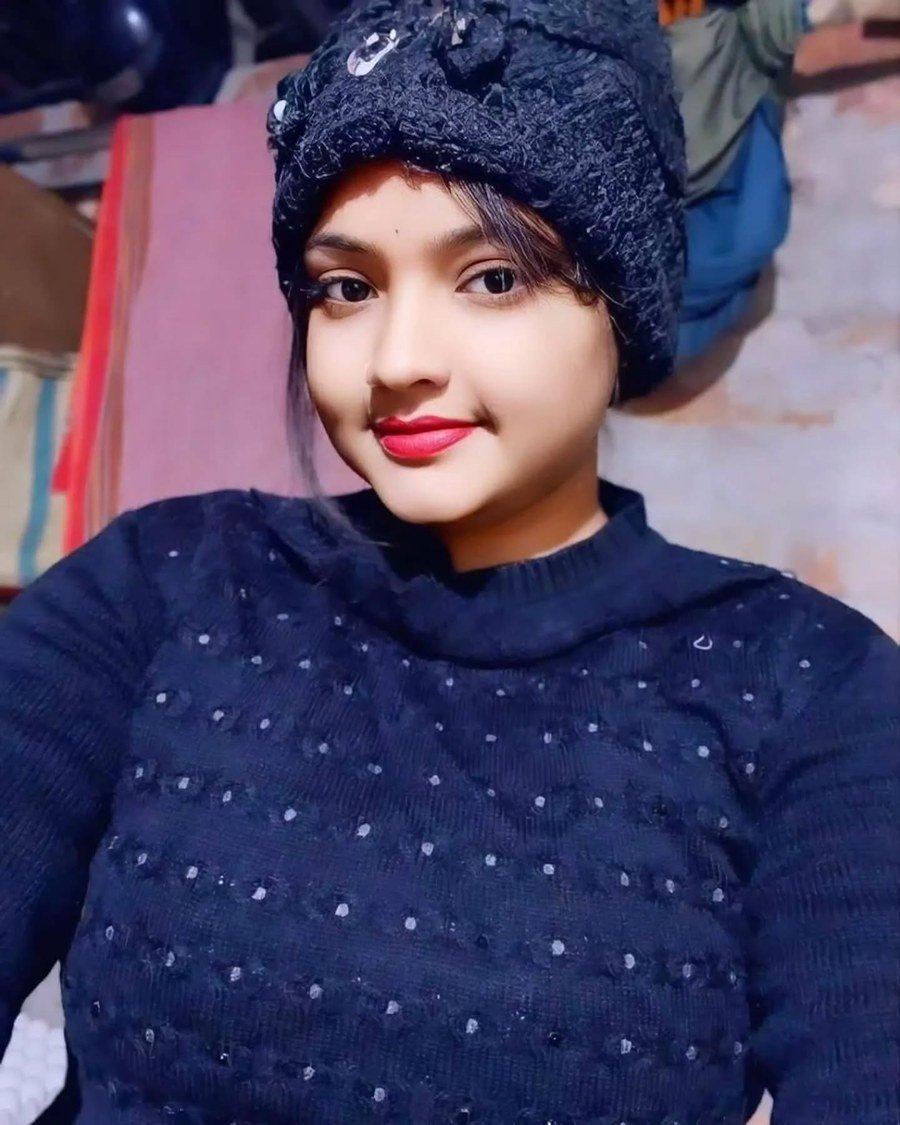
10. The Low Braided Bun
A braid wrapped into a low bun gives you the security of a braid plus the neatness of an updo — the most stay-put combination on this list. Braid your hair first (a simple three-strand plait works), then coil it at the nape and pin. Nothing shifts, nothing loosens, and the beanie sits perfectly over the top. This is the style to choose on windy days or for long commutes when you cannot touch your hair up. It pairs beautifully with scarves and high collars too.
Best for: Thick hair that slips out of regular buns. Styling: Braid from the nape, coil the braid flat against the head, and pin in four places. Ask your stylist: "Should I braid tightly or loosely before coiling for the flattest low bun?"
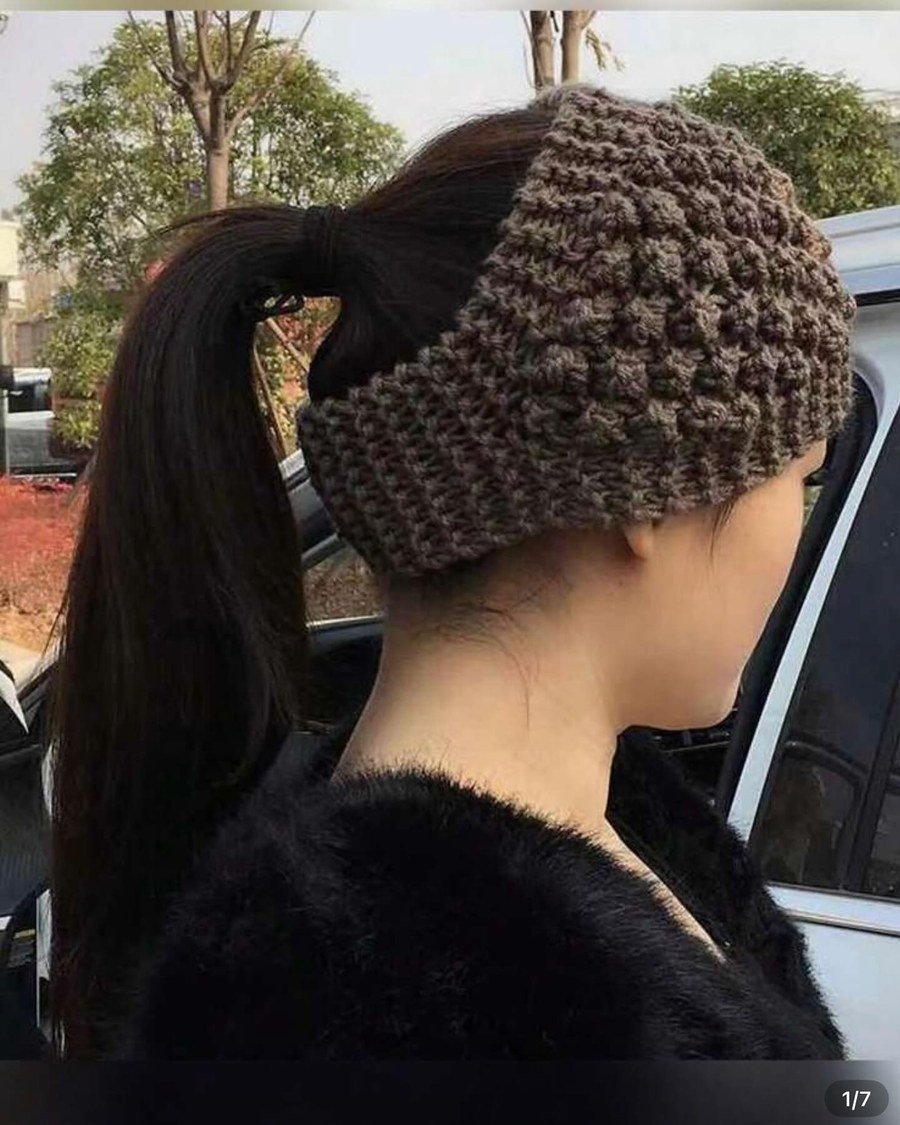
11. The Messy Textured Bun
The messier the better — this is the beanie hairstyle for the morning you woke up five minutes before leaving. A loosely twisted bun pinned at the nape or mid-height looks effortlessly cool under any beanie, especially a slouchy one with room at the back. Rough up the texture with a little dry shampoo before twisting and you have that lived-in look that is so popular right now. Because the beanie hides the bun's base, the mess reads as intentional rather than rushed.
Best for: Second or third-day hair with natural texture. Styling: Spritz dry shampoo at the roots, gather loosely, twist, and pin wherever it lands. Pull a few pieces free. Ask your stylist: "How do I make a messy bun look deliberate instead of undone?"
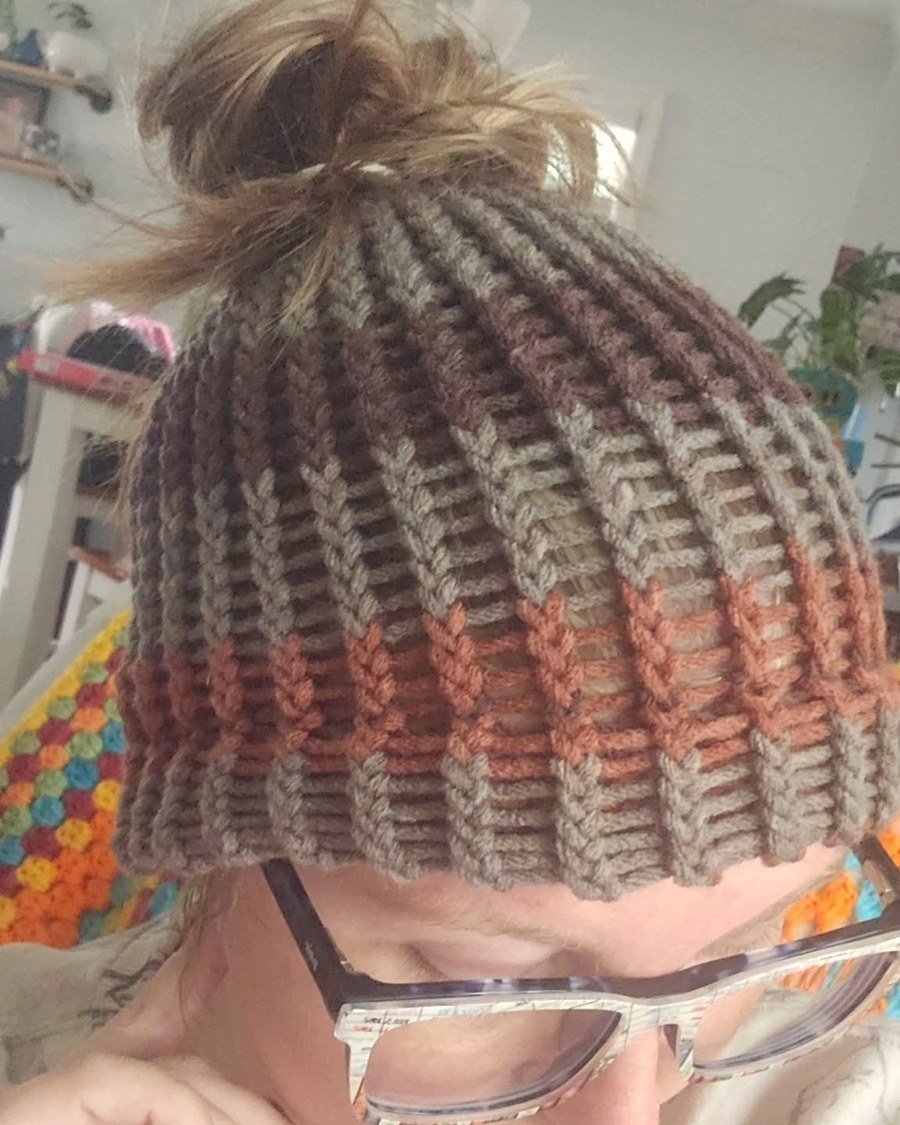
12. The Tucked-Under Faux Bob
Roll the length of your hair upward at the nape and pin it flat for a clean, polished faux bob that looks professional even with a beanie on top. The ends stay protected from dry winter air all day, which makes this one of the most hair-friendly options here. Thinner beanies work better for this style because chunky knits add visible bulk at the back and disrupt the clean silhouette. When the hat comes off, you have a chic tucked style instead of flat hat hair.
Best for: Straight to slightly wavy hair, medium to long. Styling: Roll sections under from the ends up, pinning flat at the nape in a straight line. Ask your stylist: "How do I keep a tucked-under style from springing loose during the day?"
13. The Low Twisted Chignon
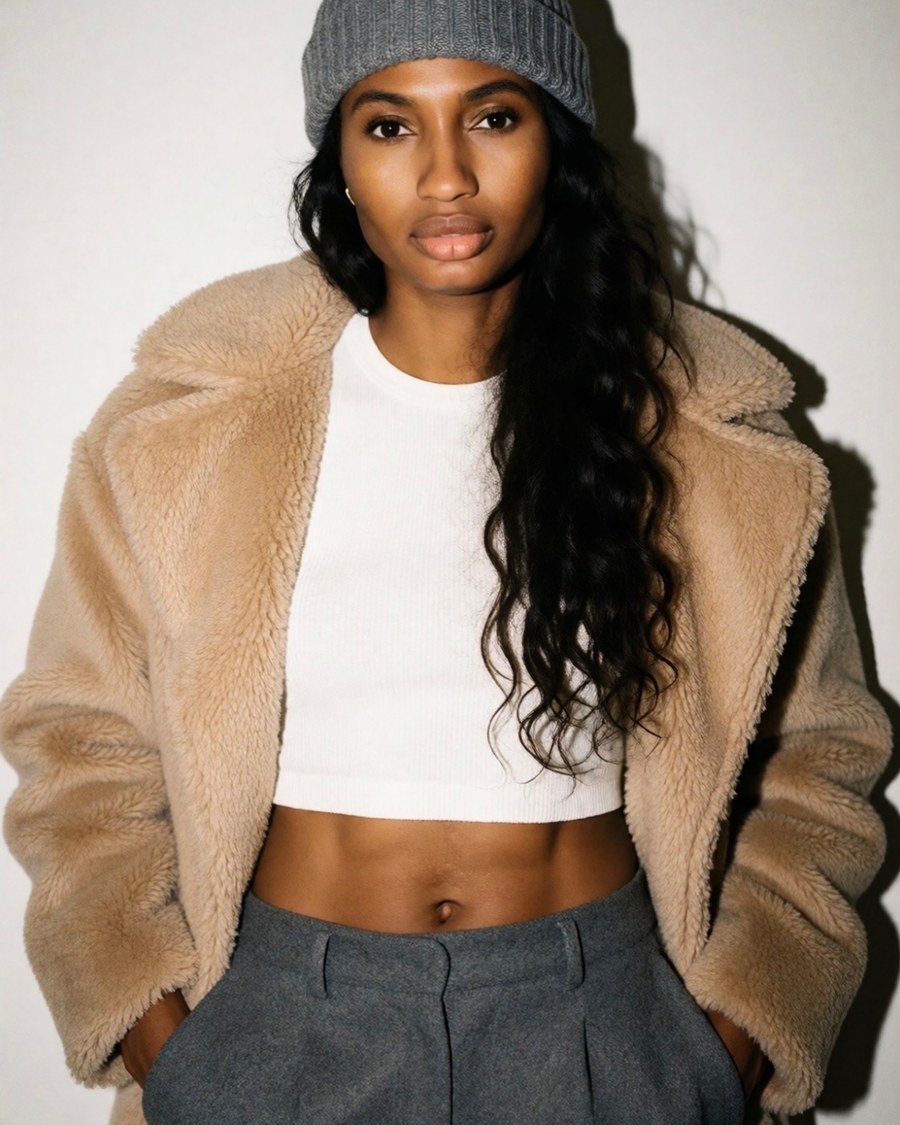
Pull your hair back into a low ponytail, twist the tail, and wrap it around its base until you have a soft chignon, securing with bobby pins. If you wish, pull at it loosely for a casual finish. This is the dressiest beanie hairstyle on the list — neat enough for the office, secure enough for the commute — and it takes about three minutes. The low placement keeps the crown smooth so the beanie sits evenly, with no awkward bumps anywhere.
Best for: Medium to long hair, straight to wavy. Styling: Smooth the crown with a brush, secure low, twist and wrap, then pin. Finish with a light-hold spray. Ask your stylist: "What is the difference between a chignon and a bun for a more polished finish?"
14. Low Space Buns
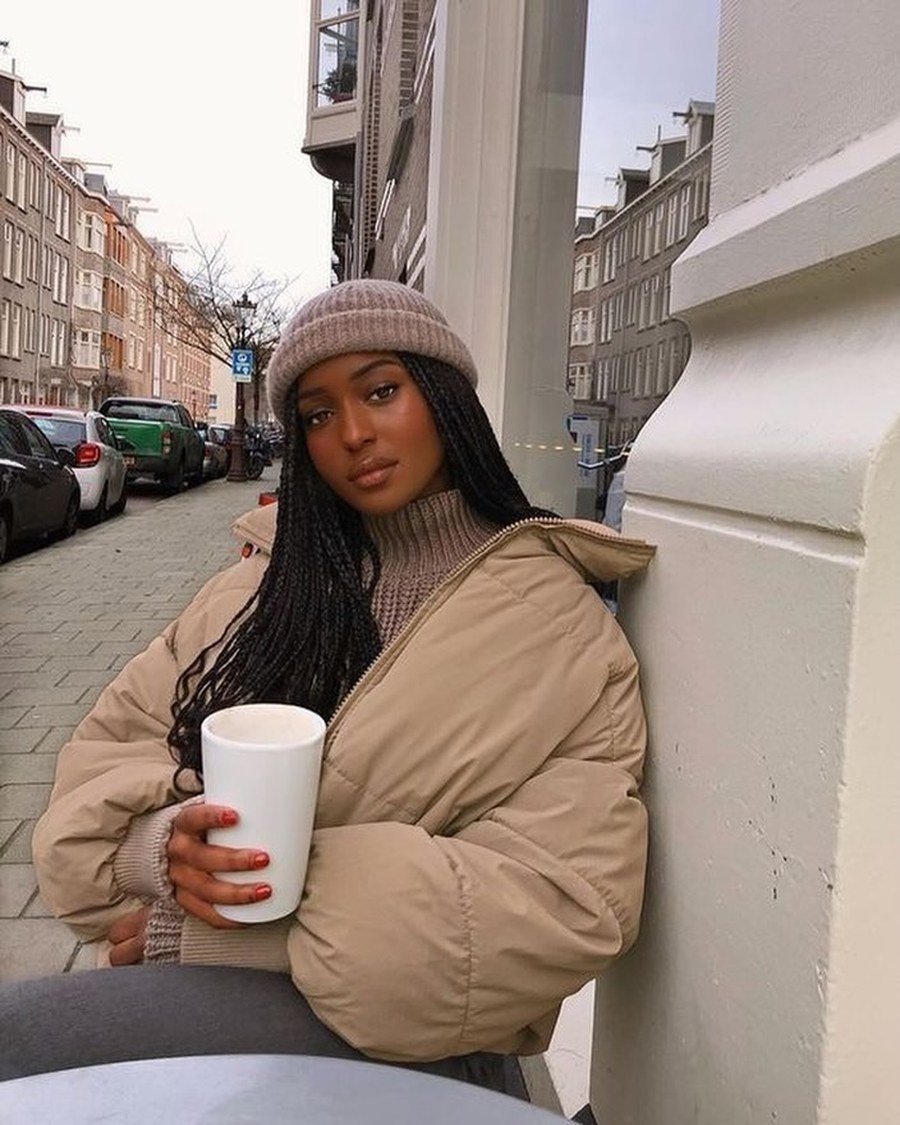
Split your hair down the middle and twist each side into a small, low bun at the nape — mini space buns that sit below the beanie's pressure zone. This playful style keeps everything off your neck, survives wind completely, and looks adorable when the hat comes off. Keep the buns small and positioned low rather than high on the head; high buns push the beanie forward over your eyes. Pull a few face-framing pieces out for a softer, grown-up finish.
Best for: Medium to long hair; a fun weekend look. Styling: Centre-part, twist each side into a low bun, and secure with elastics and pins. Ask your stylist: "How small should space buns be to sit comfortably under a beanie?"

Ponytails and Half-Up Looks
15. The Sleek Low Ponytail
A low ponytail at the nape is the beanie's natural partner: nothing bulky at the crown, nothing to get crushed. Smooth the top with a little cream or gel, secure low, and the hat slides on without a fight. Leave two thin face-framing pieces out in front — they keep the look soft and give you something pretty visible below the hat's edge. This is also the best option for second-day hair, because the natural oils actually help the sleek finish.
Best for: Straight or fine hair; second-day hair. Styling: Smooth the crown with a boar-bristle brush, secure at the nape with a covered elastic, and leave two front pieces loose. Ask your stylist: "Which smoothing product prevents flyaways under a beanie without looking greasy?"
16. The Bubble Ponytail
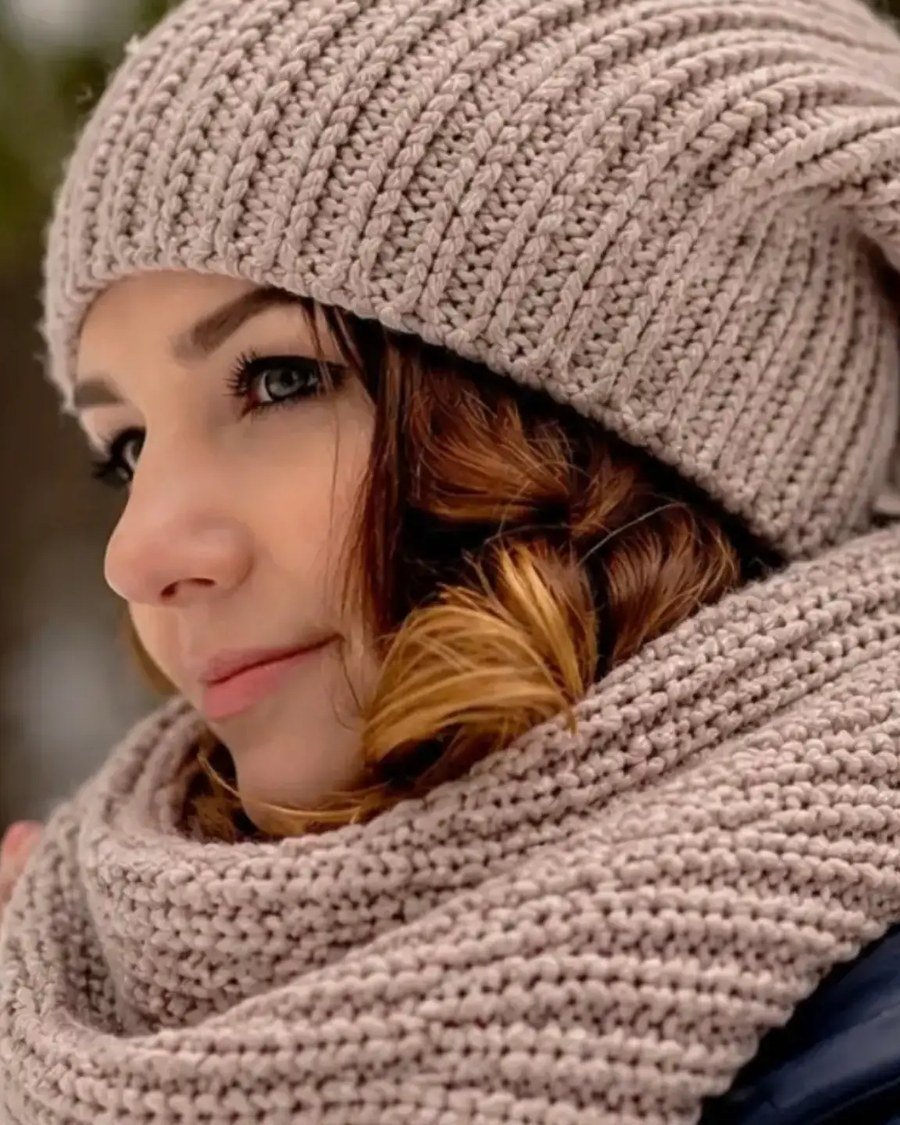
Take the sleek low ponytail one step further: add small elastics every couple of inches down the tail and fluff each section into a bubble. You get the same flat, hat-friendly base with a fun, voluminous finish that photographs beautifully. The bubbles spring back instantly when the beanie comes off, so this style looks fresh at the end of the day too. It is a brilliant trick for thin ponytails that usually look limp — the bubbles create the illusion of twice the hair.
Best for: Fine to medium hair; thin ponytails. Styling: Secure low, add elastics down the tail, then tug each section gently outward for fullness. Ask your stylist: "How do I keep bubble ponytail sections even without them sliding down?"

17. The Side-Swept Ponytail
Sweeping all your hair to one side before securing a low ponytail creates a diagonal line that adds softness and movement the centre-parted version lacks. The beanie sits comfortably over the smooth side while the ponytail drapes over one shoulder — flattering on almost every face shape and genuinely pretty when the hat comes off. Add a little root lift on the heavy side first if your hair is fine, since the hat compresses the top third of the swept section.
Best for: Round and square face shapes; medium to long hair. Styling: Deep side part, sweep everything over, and secure just behind one ear at the nape. Ask your stylist: "Which side should I sweep my ponytail to flatter my face shape?"

18. The Half-Up Mini Twist
Twist the top section of your hair back and pin it, leaving the rest down: the twist keeps the crown smooth under the beanie while the loose lengths are free to do whatever they want. It works on straight, wavy, and curly hair alike, and it takes about ninety seconds — the true test of a winter hairstyle. Secure with two crisscrossed bobby pins rather than an elastic for a flatter profile under the hat, and the beanie glides right over.
Best for: All hair types; anyone short on time. Styling: Take the top section from temple to temple, twist back, and pin flat with crossed bobby pins. Ask your stylist: "How do I stop a half-up twist from loosening under a beanie?"

19. The Half-Up Braided Halo
Instead of a twist, braid the top section into a small halo that runs from one temple, across the back of the crown, to the other temple, and pin it flat. The braid anchors the beanie so it never slides around, while the loose hair underneath stays soft and natural. This is one of the most secure half-up styles for windy days because the braid distributes the hat's pressure evenly. It looks romantic and deliberate — nothing like a hat-hair afterthought.
Best for: Long hair that slips out of twists. Styling: French-braid or Dutch-braid the top section ear to ear, pin the tail flat, and leave the rest loose. Ask your stylist: "Should a half-up halo braid sit high on the crown or lower for the best beanie fit?"

Wearing It Loose: Waves, Straight and Texture
20. Loose Waves Flowing Out
Let your long waves spill freely beneath the beanie for an effortless, undone look that is a huge favourite for a reason — the softness of the waves contrasts beautifully with the structured knit. Use a light texturising spray to enhance your natural wave pattern before pulling the beanie on, and let the lengths fall out from under the hat's edge. This photographs beautifully and takes almost no effort: the beanie does half the styling for you.
Best for: Naturally wavy or permed hair, medium to long. Styling: Enhance waves with texture spray, pull the beanie on, then arrange the front sections over your shoulders. Ask your stylist: "How do I keep waves defined at the ends after hours under a beanie?"

21. Face-Framing Waves
Style only the sections that will actually show: create soft waves at the temples and cheekbones and leave everything under the beanie completely untouched. The contrast between the snug knit edge and a soft, defined wave creates depth that reads as intentional, and skipping heat on the hidden portion protects your ends from repeated unnecessary damage. This is the smartest lazy-girl beanie hairstyle — twenty minutes of styling where it counts, zero where it does not.
Best for: Medium-length hair, fine to medium thickness. Styling: Curl only the front sections away from the face with a medium barrel, then mist lightly to hold. Ask your stylist: "How far back should I style waves so they show but the beanie still sits properly?"
22. Sleek Straight, Static-Free
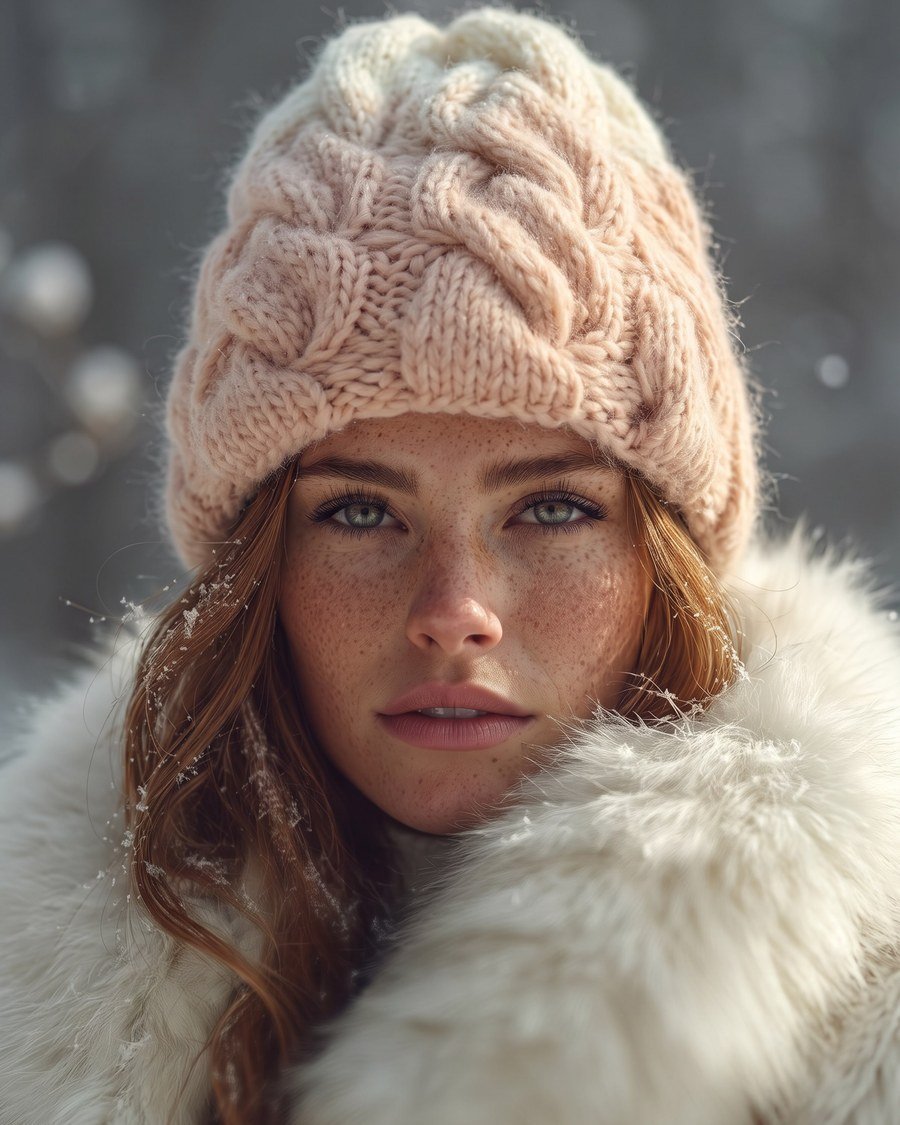
Pin-straight hair against a chunky beanie is one of the strongest texture contrasts in cold-weather styling — graphic, modern, and fashion-forward. Straight hair's one enemy under a beanie is static, so prep with a light anti-frizz serum on the mid-lengths and ends, keep the beanie slightly back from the hairline, and tuck the lengths inside your coat. A ribbed beanie grips better than a slouchy one on straight hair: less slipping, less adjusting, less friction.
Best for: Naturally straight or straightened hair. Styling: Flat-iron smooth, apply serum to ends, and run a microfibre cloth over the lengths to neutralise static before the hat goes on. Ask your stylist: "Which anti-static product works best for straight hair under winter hats?"
23. The Deep Side Part
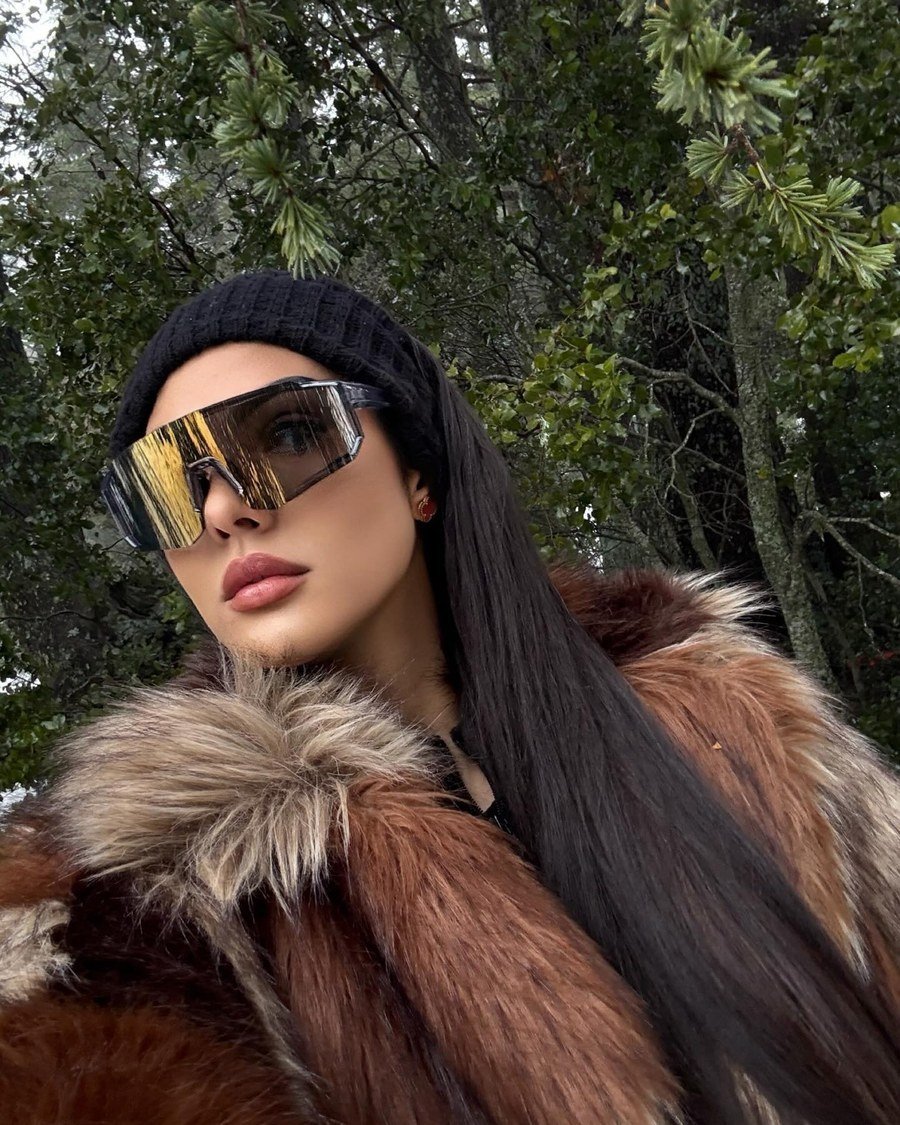
A side part starting above the eyebrow arch, with all the hair swept in one direction, gives the look a cinematic quality a centre part rarely achieves under a beanie. The depth of the part adds instant sophistication and makes the hat feel like a deliberate accessory rather than a practical necessity. Wear the beanie slightly to the same side as the part to reinforce the drama, and clip the swept section for five minutes while you finish getting ready so it holds its direction before any hat pressure lands.
Best for: Round face shapes; medium to long hair. Styling: Create a deep part, sweep everything over, and train it with a clip while you do your makeup. Ask your stylist: "How deep should a side part go to survive under a beanie all day?"
24. Second-Day Beach Waves
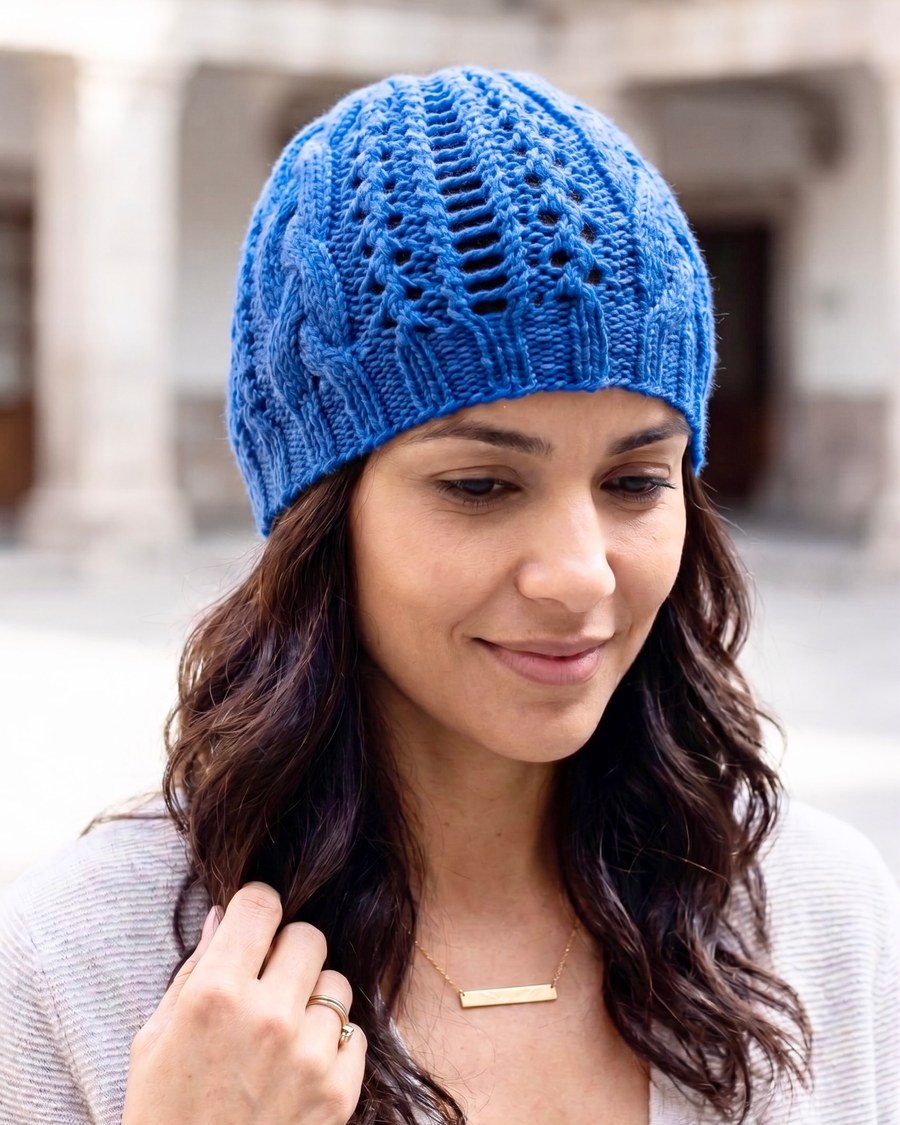
Second-day waves have the texture and grit that hold up best under a hat — freshly washed hair goes limp, but day-two hair bounces back. Revive the waves after the beanie comes off with a spritz of texturising spray and a quick scrunch: thirty seconds, no heat. This lived-in texture is the whole point — it looks better slightly undone, which makes it the lowest-maintenance loose style on this list. A tiny dusting of dry shampoo at the roots keeps everything fresh.
Best for: Wavy to curly hair; anyone skipping wash day. Styling: Refresh with texture spray and dry shampoo at the roots, scrunch, and go. Ask your stylist: "How do I revive day-two waves without re-washing after wearing a beanie?"
Curly and Textured Hair Ideas
25. The Curly Halo
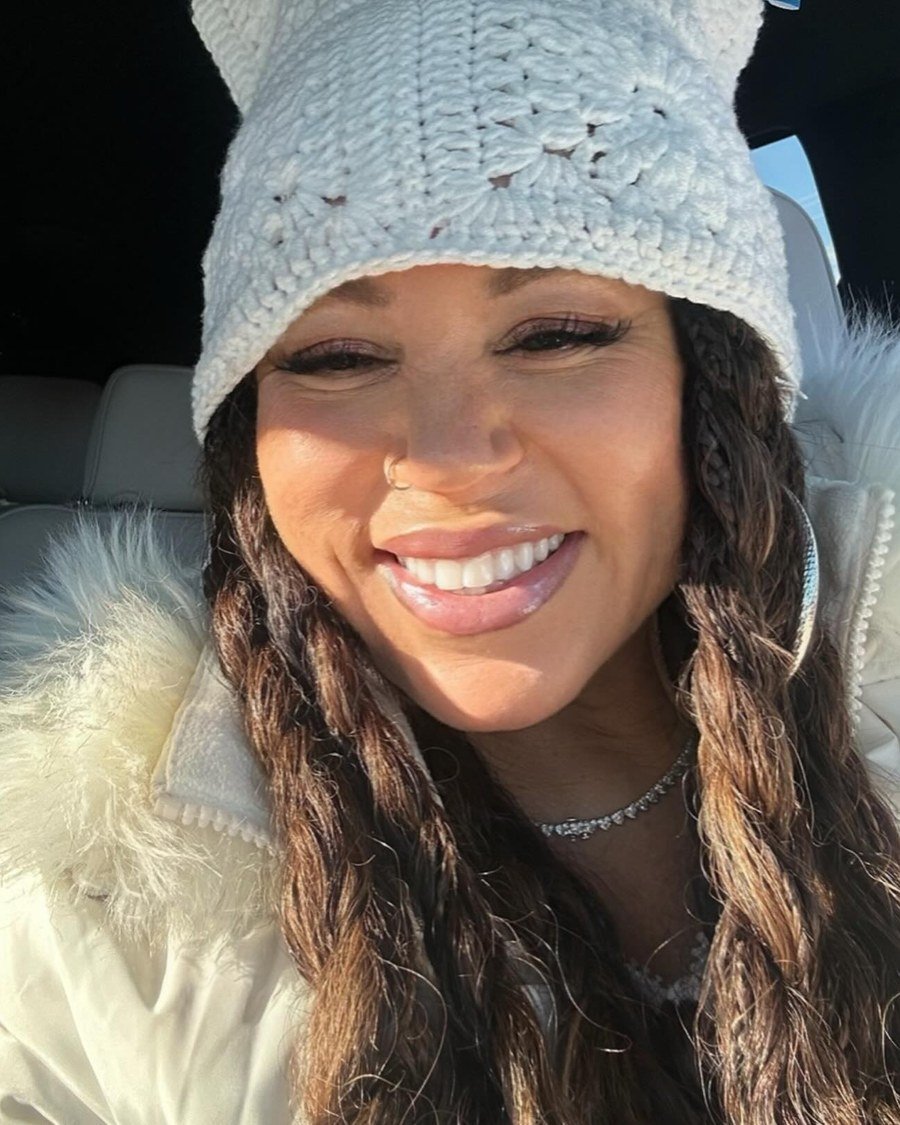
Instead of stuffing your curls under the hat, wear the beanie pushed back like a headband and let your curls form a halo around it. You stay warm, your volume survives, and the look is genuinely cute — not a compromise. The key is fully dry, defined curls before the hat goes on: scrunch in curl cream or mousse, diffuse or air-dry completely, then position the beanie behind the hairline. Refresh any flattened spots later with a water mist and a quick scrunch — no full restyle needed.
Best for: Naturally curly or coily hair, any length. Styling: Define curls fully, let them dry completely, then perch the beanie back like a headband. Ask your stylist: "How do I keep curl definition at the crown when a beanie presses on it?"
26. The High Puff and Slouchy Beanie
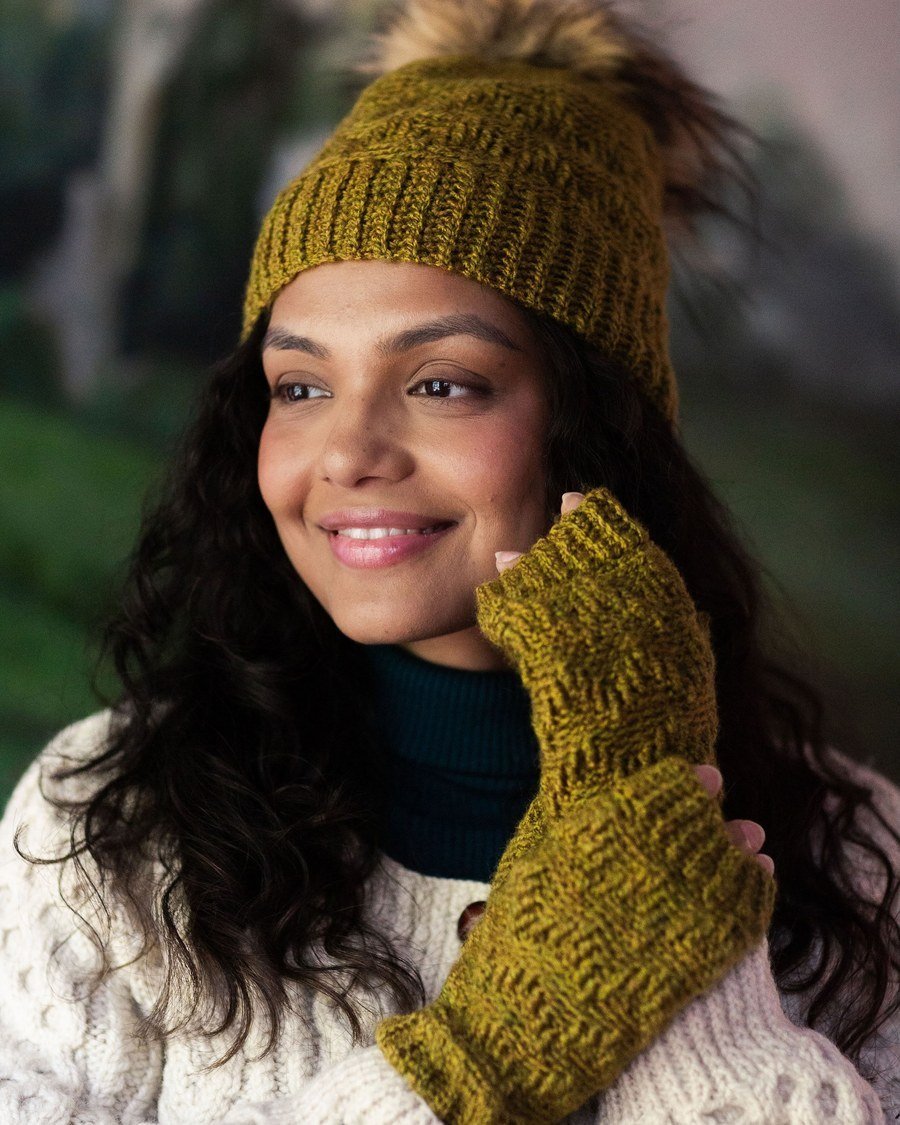
Gather your curls into a high puff and let a slouchy beanie sit behind it — the puff becomes the statement and the beanie becomes the frame. Warm ears, intact volume, zero compromise. Use a satin scrunchie or a loose band for the puff to avoid tension headaches, since the beanie adds its own gentle pressure, and smooth the hairline with a little edge control before the hat goes on for a polished finish. This style celebrates texture instead of fighting it.
Best for: Curly and coily hair with enough length for a puff. Styling: Gather curls high with a satin scrunchie, smooth edges, and position the slouchy beanie behind the puff. Ask your stylist: "How do I protect my edges when a beanie sits near my hairline all day?"
27. Flat Twists Under the Hat
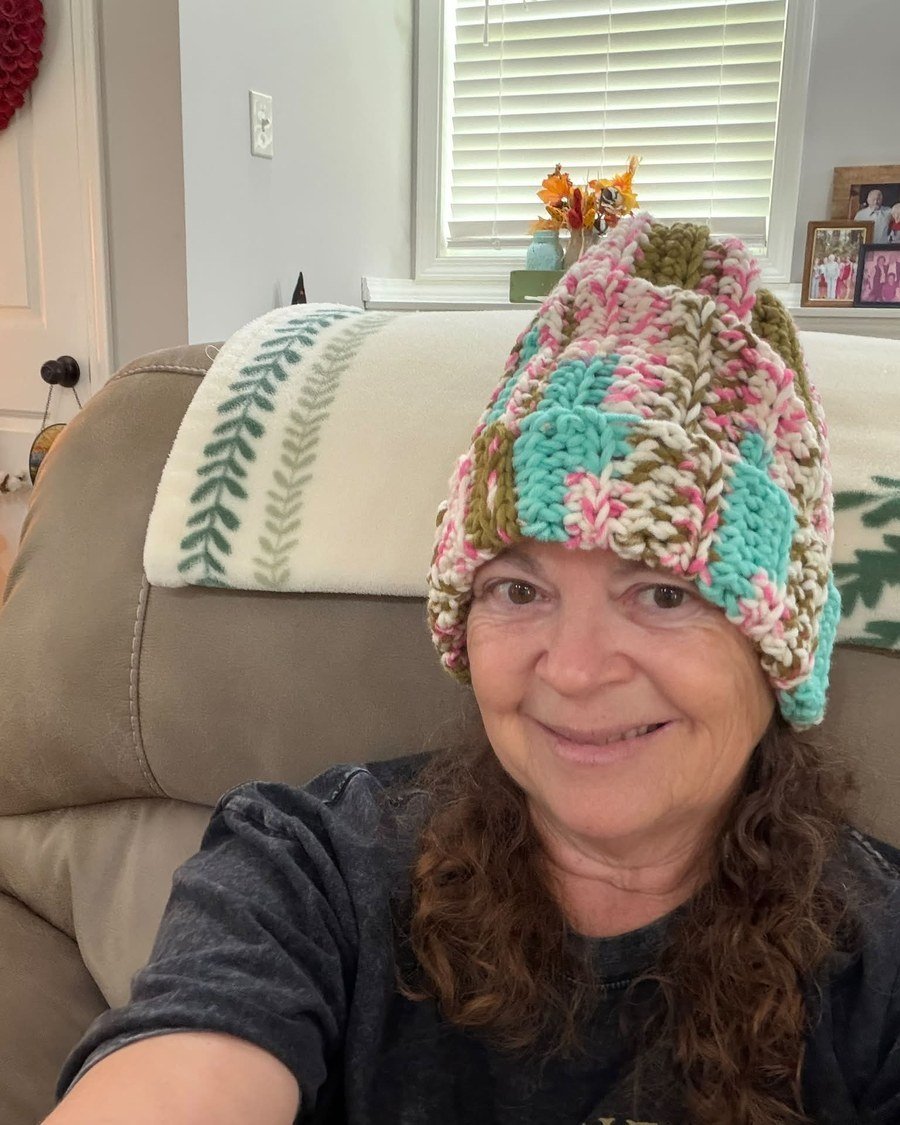
Flat twists lie close to the scalp, making them the flattest, most comfortable style to wear under a snug beanie — no bumps, no pressure points, no flattened curls to revive later. They double as a heatless styling method: take them down in the evening for defined twist-out waves. Keep the parts neat and the twists moisturised underneath, because winter air is drying even under a hat. Protective, practical, and completely hat-proof from morning to night.
Best for: Natural and transitioning hair; protective styling. Styling: Create neat flat twists across the head, moisturise well, and wear the beanie directly over. Ask your stylist: "How often should I re-twist to keep flat twists fresh under daily beanie wear?"
28. Box Braids Pulled Forward
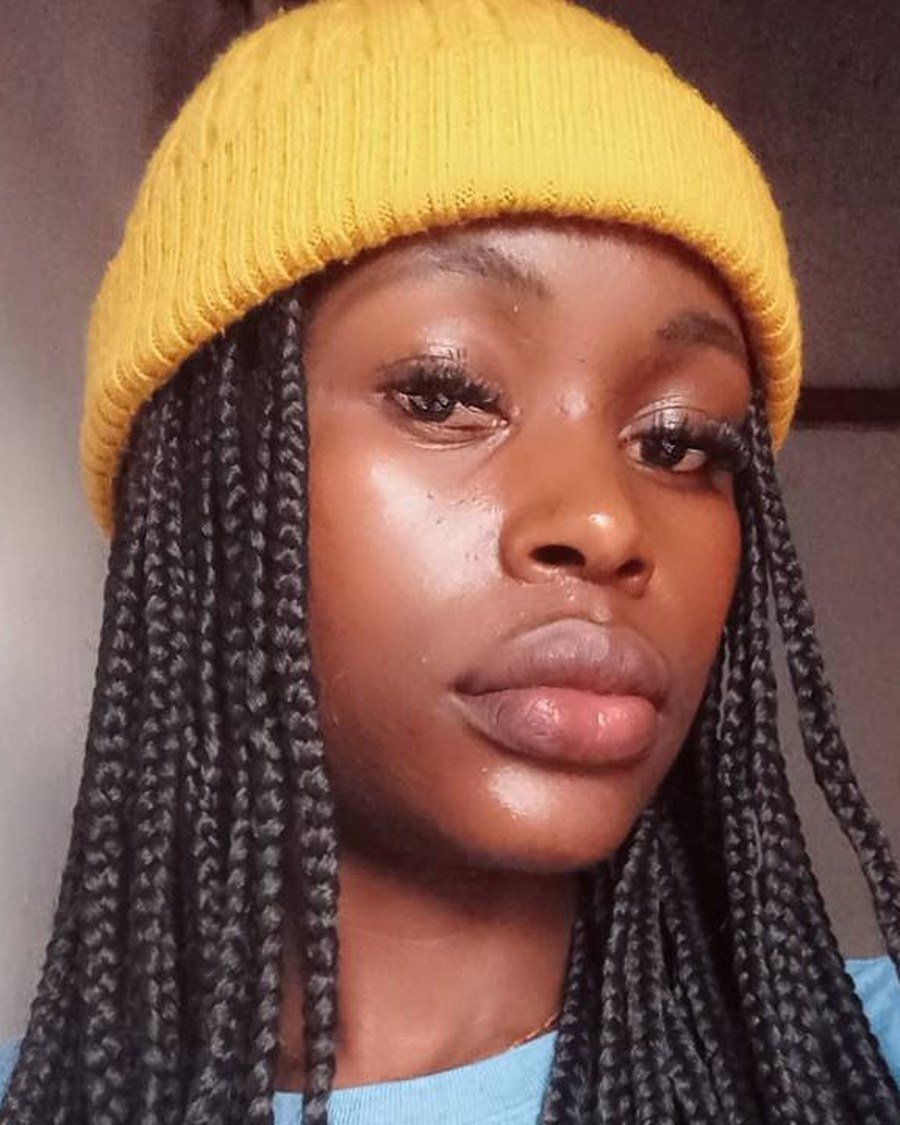
Box braids and beanies are a natural match — the braids carry the style, so the hat cannot ruin anything. Pull most of the length forward over your shoulders so the beanie sits smooth against the back of your head. Tuck a satin scarf or bonnet under the beanie to protect the braids from friction frizz, especially at the hairline where rough knit does the most damage. At night, a light oil on the scalp keeps winter dryness at bay under the protective style.
Best for: Box braids, knotless braids, and other long protective styles. Styling: Sweep braids forward over the shoulders and wear the beanie over a satin liner. Ask your stylist: "How do I prevent frizz at the hairline when wearing a beanie over braids?"
Short Hair Beanie Styles
29. The Pixie with Fringe Out
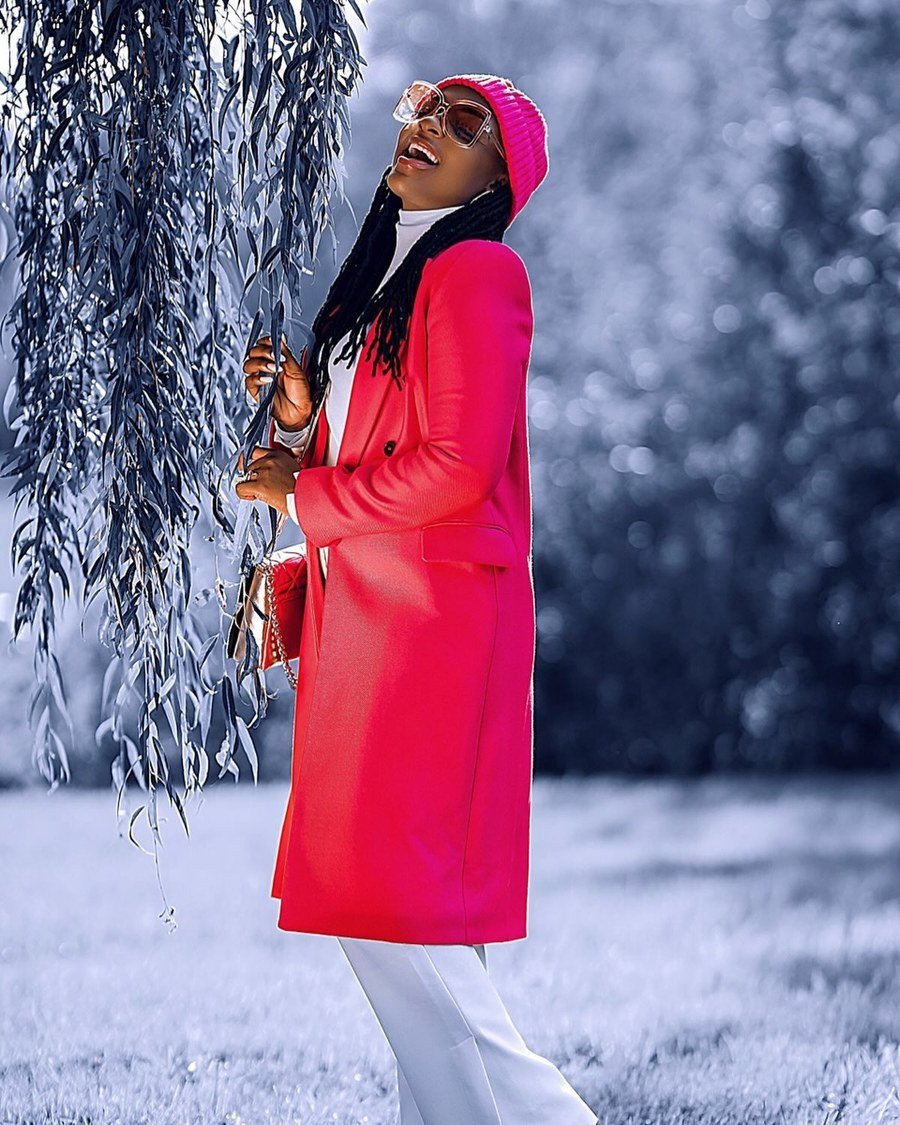
Short hair is the easiest beanie hair of all — there is almost nothing to flatten. Leave the fringe or front pieces out from under the hat's edge and the style looks deliberate, not squashed. A pea-sized dab of styling cream smoothed through the top before the hat goes on keeps the crown from separating into odd sections when it comes off. Position the beanie slightly back so the pixie's shape and your face stay visible.
Best for: Pixie cuts and short crops with fringe. Styling: Smooth cream through the crown, leave the fringe out, and set the beanie back from the hairline. Ask your stylist: "How do I keep a pixie from separating into sections under a beanie?"

30. The Blunt Bob, Hat Pushed Back
A blunt bob and a beanie is a stronger combination than you would expect — as long as you wear the hat pushed back so the bob's clean line and your face stay visible. One quick pass of a flat iron on the ends before you leave keeps the perimeter sharp all day, hat or no hat. The weight of the beanie actually helps here, keeping the crown smooth while the bob's defined ends do all the visual work underneath. Sharp, modern, and effortless.
Best for: Chin to shoulder-length bobs, straight to wavy. Styling: Smooth the ends with one flat-iron pass, push the beanie behind the hairline, and let the bob's edge show. Ask your stylist: "How do I stop a bob from flipping outward awkwardly under a beanie?"

The Clever Extra
31. The Ponytail-Exit Beanie
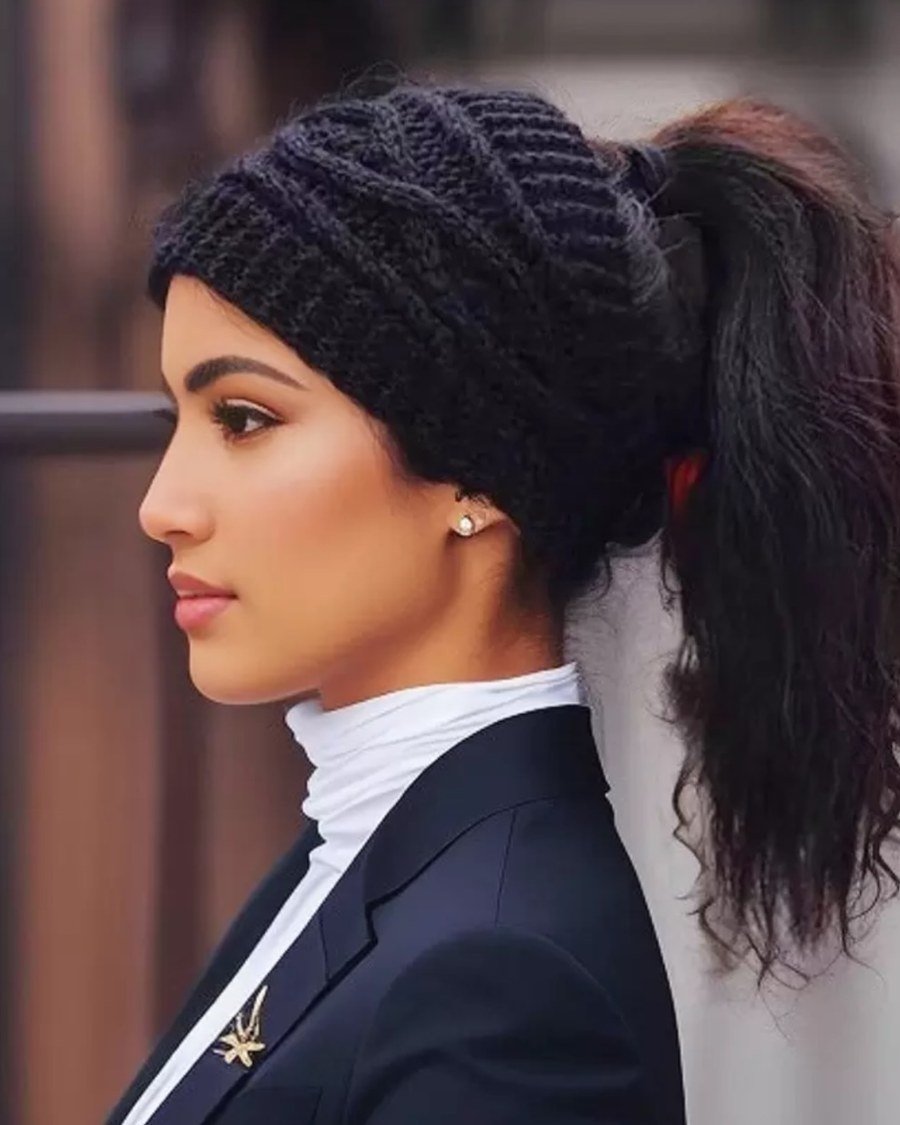
Some beanies come with a discreet opening at the top — pull your ponytail or messy bun straight through it and you get the best of both worlds: a warm head and a high style that never gets crushed. Put your hair up first, pull the beanie on, push the ponytail through the hole, then create your bun or leave the pony loose so you do not risk ruining it. No hole in your beanie? A loose, stretchy knit lets you poke a low pony through the weave in a pinch.
Best for: High ponytails and top knots that refuse to be flattened. Styling: Style the pony or bun first, thread it through the beanie opening, and adjust. Ask your stylist: "Will pulling hair through a beanie opening cause breakage at the base?"
How to Wear Beanies Without Damaging Your Hair
Beanies do not ruin hair on their own, but months of rough knit rubbing against dry winter hair can cause frizz, static, and breakage — especially on curly or fine hair. A few habits prevent nearly all of it. Line rough-knit beanies with satin: a thin silk scarf or bonnet worn underneath eliminates friction at the hairline where damage happens most. Moisturise before the hat goes on — leave-in conditioner on the ends and a little oil on the scalp keep winter dryness at bay.
Never pull a beanie on over soaking-wet hair; damp strands stretch and snap far more easily under pressure. Choose looser styles under the hat rather than tight ponytails, because the beanie already adds its own gentle compression — your style should feel comfortable, never headache-tight. Wash your beanies regularly too: product, oil, and sweat build up in the knit and transfer straight back onto your hair. Finally, give your hair a break on milder days; even the best beanie hairstyles benefit from a hat-free day now and then.
Frequently Asked Questions
How do I keep my beanie from flattening my hair?
Choose low, smooth styles — braids, low ponytails, low buns — that sit below the hat's pressure zone, and wear the beanie slightly back from the hairline rather than pulled down tight. When you take it off, flip your head upside down and shake at the roots for instant lift. Dry shampoo or a texturising spray at the roots revives volume in seconds.
What is the best hairstyle to wear under a beanie all day?
Low styles win for all-day wear: a low side braid, double braids, a low ponytail, or a loose low bun. They keep the crown smooth so the hat sits evenly, and they look just as good when the hat comes off hours later. Avoid high buns and top knots under standard beanies — they push the hat forward over your eyes.
Does wearing a beanie damage hair?
Not inherently, but friction from rough knit can cause frizz and breakage over time, especially on dry or curly hair. A satin liner, moisturised ends, and looser styles prevent nearly all of it. Avoid wearing a beanie over wet hair, and do not choose styles that are already pulling tight — the hat adds pressure of its own.
How do I fix flat beanie hair quickly?
Flip your head upside down and shake at the roots, mist with water or a texturising spray, then scrunch (for curls and waves) or smooth (for straight hair) back into shape. Dry shampoo at the roots absorbs any oiliness from wearing the hat. Thirty seconds is usually enough to look intentional again.
Can I wear a beanie with short hair?
Absolutely — short hair is the easiest beanie hair of all because there is almost nothing to flatten. Leave the fringe or front pieces out from under the hat's edge so the style looks deliberate, and smooth a pea-sized dab of styling cream through the crown before the hat goes on. Pixies, bobs, and shags all work beautifully.
How do I stop my beanie from slipping or sliding over my eyes?
Choose a beanie with some structure — ribbed knits grip far better than slouchy ones — and make sure your hairstyle has no bulk at the crown pushing the hat forward. A half-up braid or twist anchoring the top section also stops the beanie from migrating. If your beanie is simply too big, fold the brim once for a snugger fit.
Conclusion
The goal was never perfection — it is hair that still looks like you meant it when the beanie comes off. Whether you reach for a low side braid on busy mornings, a loose low bun for the office, or the curly halo that lets your texture shine, the trick is always the same: keep it low, keep it smooth, and let the beanie be the accessory. For even more cold-weather inspiration, browse our 28 cozy winter hairstyles for cold weather days too. Pick one or two go-to styles from this list, keep a travel texturising spray in your bag, and enjoy the cold. Your hair is still the moment — beanie and all.
